Lobuche Peak
Tips & Advice
1). Our Team
Ian Taylor Trekking have 3 guides for every group of 8 climbers. We have a maximum of 8 climbers per team along with our support team so we can carry ropes and mountaineering equipment high on the mountain. Safety is our priority on Lobuche Peak. We want to make sure all of our teams have the best chance at safely reaching their goal. With more staff on the trail with your team, they will be able to more efficiently manage your safety on the trail and mountain and also give you a better experience along the way.
We do not outsource any of our trips in Nepal and we have our own office in Kathmandu and our own staff who manage all of our trips. Therefore, this gives us far more consistency in our service on the ground. We have world class climbing Sherpa’s working with us and therefore, this helps us offer you quality trips to Lobuche Peak.
2). Supporting the Community
We continue to support the local community and have helped to establish the Goli Village Trust in Nepal. This was put into place after the earthquake in 2015, when the Village where many of our staff have come from was devastated. We have built two schools in the Goli region and we have placed stoves in over 60 homes. We do need donations and help, therefore if you would like to donate, set up a trek to the village, give funds, clothes or school items, then get in touch. Please let us know and we can help you figure out how you can best help!
3). Quality Run Trips
We run only run quality treks with more staff, better lodges and better food. You can also watch our Food and Accommodation video for further information. A lot of times people are only given the same food each day for every meal, and we don’t do this. You are allowed to pick what you eat for each meal to make sure that your dietary needs are met.
4). Expert Training Advice
We offer personal service with training advice for our clients, 5 days a week. A lot of people underestimate Lobuche Peak. We do not want to see this happen with our clients. Therefore, we want to make sure that you have the best information on how to complete this trek and climb safely and successfully. Our itinerary offers the best chance at the summit. Even with our itinerary the summit night and day alone can be 10+ hours with some technical challenges. We run courses in Colorado and Scotland in support of our Lobuche Peak climbs.
There are some long 8+ hour days, covering over 20km with over 700m/ 2,296 feet of up and down hill on steps or stairs while on the trail. We have professional training advice available to you 5 days a week. All you have to do is e-mail us and we can schedule calls with you as often as needed once you sign up to our trips.
5). The best Acclimatization and Itinerary
We have learned after years of experience that people need more time to acclimatize to the lower levels of oxygen, in order to have a safe and successful trip to 20,075 feet. Therefore, we now include three nights in Namche Bazaar at 3,500m/ 11,500 feet. Trek to Everest and Kala Patthar at 5,645m/ 18,520 feet prior to reaching Lobuche Peak Base Camp. We also include nights at both high camps on Lobuche Peak Base Camp 5,400m/ 17,716 feet and we use Island Peak High Camp 5,700m/ 18,701 feet. This gives you the best experience for the best views across the Everest region.
Our unique itinerary gives you the time it needs to acclimatize correctly. Most companies are not doing this and we have seen over the years that it is a main factor in why more people on our trips are making it safely to the summit of Lobuche Peak! We also include two nights in Dingbouche at 4,350m/ 14,271 feet, giving you the best chance of success!
6). Climb with an Everest Summiteer
Why not sign up to one of the trips that Ian personally leads? You can walk through the region with someone who not only has trekked to Everest Base Camp over 35 times, but also has reached the top of Mount Everest! Ian usually leads two Everest Base Camp and Island Peak climbs a year and some private Lobuche Peak trips on request.
7). 25 Years Experience
We have years of experience managing teams on the ground in Nepal. Our head Climbing guide Ang Kami Sherpa has climbed Lobuche Peak over 100 times and climbed Mount Everest numerous times, Aconcagua and many other peaks. He is from Goli village and helped built the first school we built in the region. His uncle is Dawa Sherpa and Dawa heads up our office in Kathmandu. Both are very passionate about Sherpa culture, experience and preserving these traditions. Anyone who has trekked with Dawa or Ang Kami Sherpa will never forget it!
8). Fully Trained Staff
All of our guides hold current Wilderness First Aid Certificates and mountaineering guiding qualifications. Also, our guides will carry satellite and local phones with them in case of an emergency. All our guide have led many trips on Island peak, Mera Peak, Lobuche, Tent Peak, Everest North Col, Cho Oyu, Ama Dablam and Mount Everest and so many more. Read some Reviews from our trips and get in touch for further information.
9). Four Star Hotel in Kathmandu
We include two nights in a four star hotel in Kathmandu. One night before your trip and one night after the trip. All of our trips are on a shared basis, but if you prefer a single room, this can be offered at an additional cost. We use the Buddy hotel and Spa in Thamel, which is the main tourist district of the city. You can also upgrade to 5 star hotel option if you like, just ask us for further information.
10). Better Lodges
There is a wide range of accommodations in the Everest Region. Some of these are of a very poor quality/standard and we stay away from those! We use the better accommodations when available. All of the tea houses we use come with a pillow and comforter on your bed. You still need to have your own sleeping bag with you, but these better tea houses will provide a clean and more comfortable option along the way. We use Hotel Namche for the four nights we spend in Namche Bazaar. Three nights on the way up and one night on the way down the trail. Sleeping is a very important part of the acclimatization process and therefore getting to bed early and getting as much rest as possible is very important.
1). Pacing, Heart Rates and Attention to Breathing
If you are trekking to Everest Base Camp on an Ian Taylor Trekking trip, then you will have 3 nights in Namche Bazaar on the way up the trail, which will give you a safer and more enjoyable experience going to altitude. All we ask is you come in excellent physical shape. On the trail, you need to maintain a slow pace that our guides set. You need to focus on deep breathing, in through your nose and out through your mouth. If you do these things, then you should be able to keep your heart rate as low as possible.
2). Keep a Close Eye on your Surroundings
There are many objective dangers on different parts of the trek. People, porters, yaks, donkeys, rock fall and landslides are just a few of these dangers you may encounter. In order to avoid injury, need to make sure you are aware of your surroundings at all times. You also need to watch each step you take in risky areas. Your personal safety has to be your main concern at all times on the trail. Always stay on the mountain side of the trail and away from any drop offs.
3). Always Stay on the Mountain Side of the Trail
You need to be aware of your foot placement and stay away from the edge of the trail at all times. There are no railings, and with large numbers of trekkers, animals and porters carrying heavy loads, you never want to risk being pushed off the trail. Therefore, you always want to stand on the mountain side of the trail, NOT the drop off side. Stay well away from drop offs at all times. There are some serious and dangerous landslide areas on the trail. You need to move through dangerous areas very quickly, and our staff will help to manage you safely through them.
4). Walk in Single File in Risky Areas
Always walk single file as yaks and animals sometimes come out of nowhere and you need to be able to stay well out of their way. Using a trekking pole, placed out in front of you, can help steer yaks around you and your teammates. Just plant the pole out in front of you. Do not wave your trekking pole at any animal or hit them with your trekking poles.
5). Treat all Cold Water
When you get cold water in your bottle or bladder on the trail, you MUST treat the water with purification tablets before you drink it. Drinking dirty water can and will ruin your trip. As of January 2020, bottled water is no longer available in the Everest Region. You will NOT be able to purchase bottled water at any stage of the trail. Therefore, you will want to make sure you have adequate amounts of water purification tablets with you on the trip. You could also consider using a device like a SteriPen for the trip, however we have found that using the tablets is the easiest/most effective and cheapest option. If you are served water that has been boiled for tea, coffee, hot chocolate, it will not need to be treated.
6). Exercise is an Important Part of the Acclimatization
Once you have come on the trip prepared and trained, this should not be a concern. On the trail, you will be walking for twelve or thirteen days straight, with 30% to 50% less oxygen. This will put your muscles, heart and body under a lot of pressure. You do not want to be moving fast up the trail each day, unnecessarily using energy. Our pace will be slow and steady, with plenty of breaks, especially on the longer hills, which can last for 2 hours. You need to regulate your heart rate as you slowly move higher each day. The correct way to breath at altitude is in through your nose and out through your mouth. This technique will be very important to your safety and success on the trip.
7). Drink 4/5 Liters of Water Each Day
When you are training at sea level, you should be drinking a liter of water per hour of exercise. Therefore, on the trail, you need to be drinking at least 4/5 liters each day. The International Society for mountain medicine defines high altitude as between 1,524m/ 5,000 feet and 3,500m/ 11,500 feet. Very high altitude as between 3,500m/ 11,500 feet and 5,486m/ 18,000 feet. And extreme altitude as any height above 5,486m/ 18,000 feet. The higher you go on the trail, the greater the effects are on your body and therefore, the more important it is to stay hydrated. We dehydrate much faster at high altitude, and when you fail to stay hydrated, you run the risk of altitude sickness and ultimately ruining your trek.
Lower oxygen levels make you breathe in and out faster and more deeply, causing you to lose more water through respiration. According to the wilderness medical society, you lose water through respiration at high altitude twice as quickly as you do at sea level. High altitude can also make you need to urinate more often and can blunt your thirst response, putting you at even greater risk of dehydration. So make sure you are drinking plenty of water on the trek.
8). Do not Ignore the Signs of Acute Mountain Sickness
Our treks to Everest base have 5 quality days of acclimatization on the trail. We spend three days in Namche Bazaar at 3,440m/ 11,300 feet and 2 days at Dingbouche 4,400m/ 14,435 feet. You need to be able to manage your ascent safely and never be afraid to let your guide know how you feel. Altitude sickness can kill, so respect the mountains and respect the decisions our guides make. Our guides are trained to deal with altitude sickness, therefore, they have the final word if you need to descend. If you do get altitude sickness, it will only get better by going to lower altitude.
9). You are Trekking and climbing as a Team
You need to look out for yourself and other people around you on your trek. Team work is essential for safe group travel. Look out for each other and you will enjoy the journey a lot more. If people cannot keep our minimum pace on the trail, then they should be turned around before they become a risk to themselves and the team. Please let the guides know if you or your team member is feeling unwell.
10). Have the Right Clothing, Gear and Equipment
There are too many people on the trail without the proper trekking equipment. Wearing cotton clothing, poor quality hiking boots or having small, insufficient day packs and the wrong clothing with minimal water will ruin your trip. Mount Everest and the Everest Base Camp Trek and Lobuche climb demands respect. The conditions can be harsh, even in the main trekking seasons of March, April, May, September, October and November.
You must have a proper light weight day pack of approximately 30 liters, with a good waist strap. It will need to hold 3 liters of water, water proof gear, spare layer, poles, sun cream, personal medication, liner gloves, your personal first aid kit and other personal kit you may need. On any given day it could be hot, cold, rainy, hailing, snowing or windy during the trek. Therefore, you need to make sure you have the right gear each day as you walk up the trail to Everest. We provide our clients with a 40 page Dossier with all recommended gear needed.
11). Manage your Personal Hygiene
There are more and more shower facilities, western toilets, sinks and mirrors than ever before on the trail. There is also better and well prepared food in most of the lodges. On our treks, we use the better quality lodges, however in some villages the lodges are still of lower standards. You must assume that everything you are touching in the tea houses is dirty. Therefore, you will need to use hand sanitizer, cut your nails, clean your body and make sure you are limiting the risk of getting sick from dirty hands or touching unclean surfaces. Be aware you are in a remote wilderness location with limited resources and services, so please keep clean for a more enjoyable journey up the trail to Everest Base Camp.
Preparation & Training
If you are signed up to or considering to joining a Lobuche Peak climb then it is time to start focusing on training! Lobuche Peak is NOT a trekking peak and you need to give this mountain the respect it deserves. Previous technical climbing experience is essential before taking on this 6,119m/ 20,075 feet Himalayan peak.
Take Your Training Seriously
We take the climb of Lobuche Peak seriously and you should too. There are a range of factors that will determine your success. Firstly, you need an itinerary with plenty of acclimatization. We use both Lobuche Peak High Camps for your enjoyment and success. Secondly, you need to develop a training plan relevant to the specific elements of the trip. Finally, make sure you understand the specific Himalayan style, fixed line climbing techniques needed to be safe high on the glacier.
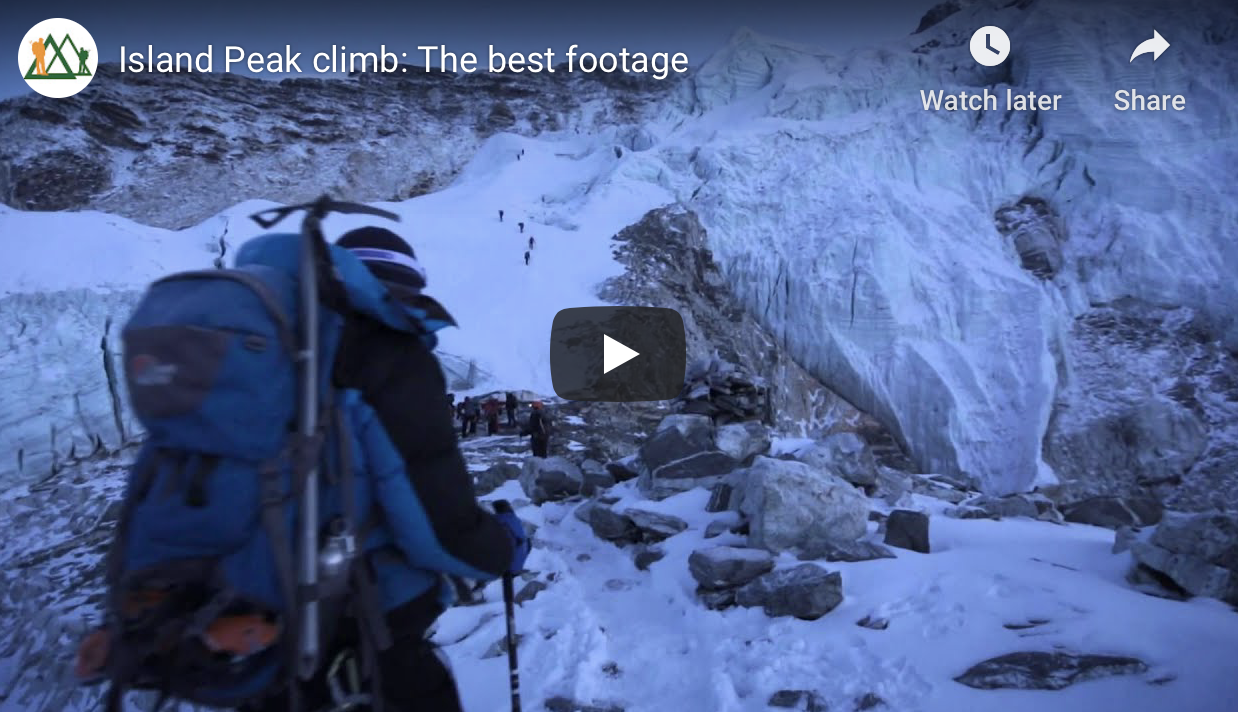
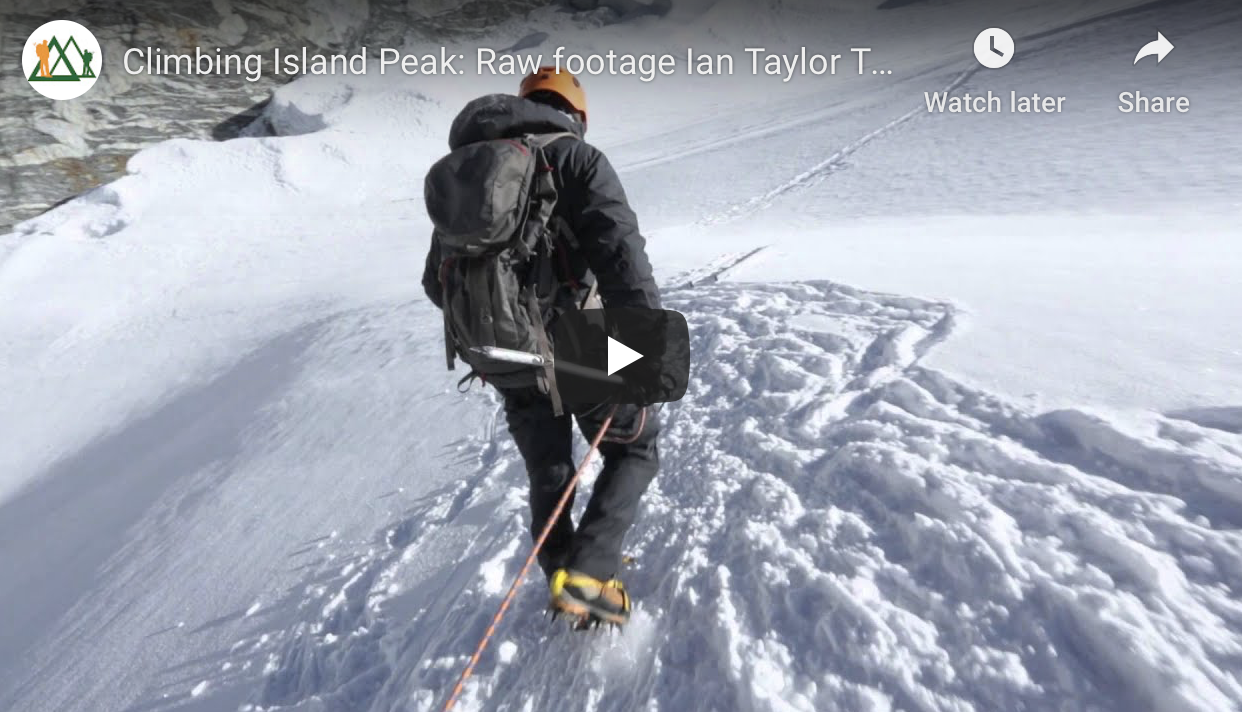
We want to make sure our clients come to Nepal with the right physical and technical preparations. Watch the videos below and then GET IN TOUCH for more information on this stunning climb.
Prior Mountaineering Training is Essential
When preparing for steep ice, you need to find 60 to 70 degree angle terrain. Have a guide set up ropes with 4 to 5 different anchor points. You will have a jumar on a sling or cows tail attached to your harness. You should also have a sling (safety line) with carabiner on the end of the sling. The carabiner should be able to go above the Jumar on the fixed line. You do not want the Jumar going higher than your nose when fully tight. We do run this training in Colorado and Scotland.
The key mountaineering training should be the rappel. You will want your safety line with carabiner on the fixed line. The safety device should be kept above the figure of 8 (descending device) as you abseil down. You need to be comfortable abseiling using a figure of 8 device, and learning to flip the figure of 8 over once you reach each anchor point. You need to make sure your safety line is tight as you find the next abseil. Once you have found the rope and you are safe with the figure of 8 to abseil, then, and only then, do you take the safety line from above the anchor point and place on the rope you are abseiling on. This training is important for your safety!!
The Trekking Portion of the Trip
We have a few different options when Climbing Lobuche Peak, however, our most popular option includes a trek in to Everest Base Camp. Therefore, you will trek into Everest Base Camp and climb Kala Patthar at 5,645m/ 18,520 feet, over 9 days. Each day will be spent walking 5 to 8 hours per day as part of the acclimatization schedule. You will gain additional conditioning by doing this trek in, and with our excellent acclimatization program you will gain the acclimatization in the right way.
Endurance Training
In order to be able to walk up and down hills, 18 days in a row, you need to improve your stamina and endurance training. You need endurance training in your routine to fight fatigue in your muscles which will be critical high on Lobuche Peak, when you have to walk distances at altitude on a multi-day basis. Endurance training contributes greatly to your overall health, giving energy, improved heart function and increased metabolism.
Building your endurance training can be done by gradually increasing time to your cardiovascular training sessions. For instance, before you go you should be training for and hour and a half per day, four to five days a week. This should be done while trying to keep a consistent heart rate in your endurance zone. This should be done with weight. Likewise, you will want to include a longer session or hike once a week, spending up to 6 hours hiking up and down hills, further building your strength and endurance. However, it is not a one size fits all type of training and it may be different for each person. Do a fitness test so you can be more efficient in your training and preparation. We are available to help you get the right training for Island Peak.
Built Your Training up Over Time
Depending on where you are starting from in your training, it will dictate your routine. Ideally, you should be looking to increase your training sessions from 30 minutes to 50 minutes to 90 minutes over a 12 to 20 week period. This training needs to be done four to five times a week, plus one longer day at the weekend. On your longer day, you should be looking to go for a longer endurance session building from 3 to 6 hours of hiking, which will help you prepare for multi-day trips. While on these longer hikes, you need to take plenty of breaks, drink plenty of water (3 liter minimum) and bring some snacks, all while carrying a heavy backpack.
Longer Training Sessions
To further build endurance, and after a month of initial training where you have been doing 3 to 4 hours in the gym and 3 hour hikes, you need to add more time and days training. Limit rest days and try and add multi-day trekking. You should be building to 5 to 6 days a week. As your strength and conditioning progresses, after 2 to 3 months, you should be adding more weight into your backpack and increase the length of each training session. Also consider adding in stretching before and after each session. Flexibility is an important element in your training.
Weight Training
Training every part of your body is extremely important for Lobuche Peak. You need core stability training for excellent balance, super leg strength and overall body conditioning. You will be gaining conditioning from carrying a backpack with weight in it for hours each week. Also, you need to supplement this with a specific weight training plan including core, lower body, and upper body. We are always happy to chat and go through exercises that will help build specific strength for Lobuche Peak.
You should consider doing squats, dead lifts, calf raise, single leg squats, leg presses, lat pull down, arm curls and shoulder pushes. You can also consider doing a wide range of other exercises and happy to explore all these with you directly. After 2 months of of endurance training you should be looking to add 1 to 2 weight training sessions per week to your schedule.
Interval Training
After you have built your fitness up and you can hike for 4 to 5 hours, with a weighted backpack, along with training 3-5 times a week, then you can consider adding interval training into your schedule. Interval training can be done in a range of ways. Ideally, you warm up first for 10 – 15 minutes. Then, you are looking to push high heart rates for 60 seconds, and then completely rest for for 60 seconds. After the 60 second rest, then you will want to do it over again and again! All of this should be done while pushing close to your maximum heart rate. When starting this training, you will want to try to maintain this for 25 minutes. You should be looking to increase this up to 45 minutes in one session per week.
This type of training can be achieved on the side of a hill, treadmill, running track or in a spin-class, for example. We can talk more about this as needed.
Climbing Experience
If you are signing up to one of our Lobuche Peak climbs, we require that you join a winter skills course or course dedicated to the specific training needed for Island Peak. We have specific courses available in Scotland and Colorado. It is critical to be able to abseil/ rappel using a figure of 8 device on fixed lines. Also, you need to be able to move efficiently from one abseil to the next, all while on a 60 to 70 degree angle. This is critical for your safety and the safety of our staff and other team members. Do not come under prepared in this area or we will have to turn you around. The overall safety of our team will be at the heart of decision making on the mountain.
Not everyone will have access to hills, but this is the best way to train your body and legs for down hill hiking. Depending on your chosen adventure you do need to assess the level of downhill. We have elevation gains available for all of our key trips. I encourage you to review the daily elevation drops and what type of terrain you will be walking on.
For example, on our Inca trail treks you will be drop 700m/ 2,296 feet to 1,000m/ 3,280 feet on different days all on steep rocky stairs. On Kilimanjaro you will drop 2,800m/ 9,186 feet in one day on scree and rock and this is very challenging on your legs and joints.
You have just walked for days on end you have reached your goal but not you have to retrace your steps, often in a quicker time frame. Hiking downhill will take its toll on your joints. Fore sure, the downhill hike will take more wear and tear on your joints and muscles than the uphill.
You do need to use effective training techniques to minimize the impact on your body. Descending using good technique means that you move faster and feel lighter. Remember, 80% of accidents happen on the way down.
Keeping Knees Healthy
We live in Eagle-vail Colorado with amazing access to altitude and a wide range of mountain terrain to train on. In Colorado we can train all year round on hilly terrain preparing for Kilimanjaro, Himalayan trekking and mountaineering trips. I know most of you are joining our trips from sea level and with minimal access to hill training. I encourage you to get out to Colorado doing some multi-day hiking in preparation for your chosen adventure.
If you do not have access to hills and mountains, you must figure out other ways to prepare your knee joints to handle downhill stress. From a knee perspective, downhill hiking means eccentric loading and typically thousands of repetitions of it. Eccentric loading (the lengthening phase of a contraction) is especially challenging to what is called the patellofemoral joint of the knee. This is where the knee cap, meets the femur. Inadequate strength, poor mechanics and lack of exposure to this type of loading can turn downhill forces into injury producing stress. Prior to your trekking trip you need to start implementing sport specific training into our general preparedness programming.
Hiking Uphill and Downhill
Hiking uphill is all concentric muscle action (muscle active while shortening) at the knee joint without any eccentric loading (loading while muscle is lengthening). Concentric only exercises tend to cause less mechanical stress, load and pain to joints and tendons than do exercises that have eccentric phases. What goes up must come down.
You must prepare our body and specifically your knees to handle downhill hiking. Depending on the trip, you really need 6 months of some sport specific training into our general preparedness programming.
The strength movements below are similar but slightly different in specific ways. We purposely only hit each one once per week because too much volume of these exercises could quickly lead to an over training injury, so be careful. I would recommend adding in additional hip flexor and quadriceps mobility work at the end of your training sessions as well to maintain good length tension relationships and to protect your spine.
The Point of These Exercises
Increase vertical loading volume of the knees with a sight posterior to anterior (back to front) force vector. Get exposed and accustomed to decelerating the vertical and forward forces using primarily a knee strategy. Transition from doing most lunges and squats with a 3 points of contact foot position to a more heel elevated position where we contact and press through the forefoot.
The 3 points of contact foot position is the most stable position for the foot and encourages a balance of hip and thigh musculature – great for general preparedness training. Transitioning to a heels elevated position where the forces are applied through the forefoot places most of the stress on the quadriceps and knees – optimal for downhill hiking training.
Exercises for Downhill Hiking
You should consider adding these movements into your weekly training 2 times per week. Add 3-5 sets of 10-15 repetitions (per leg)
1). Heels Elevated Goblet Squat
2). Forward Alternating Lunge with Farmers Carry Loading
3). Forward Alternating Drop from Box Lunges
4). Banded Posterior to Anterior (PA) Forward Lunges
Carrying Weight
One of the best ways of mitigating the risk of musculoskeletal issues is by carrying a light pack. Then build up the weight you carry over time. An overly heavy backpack is not recommended in the early stages of your training.
Extract its biggest toll on your body during steep and/or long downhill sections, so a hiker should always aim to travel as lightly as the dictates of their skillset and the environment into which they are venturing allow.
If you are carrying weight on longer hike you should slowly build up the weight you carry. You should also consider carry water uphill and dump as much water/ weight as possible for your downhill. Always assess the weight you are carrying for each hike and always build up slowly over time. You do not want to get injured.
Our Unique Itinerary
Day 1 - Arrive in Kathmandu – 1,400m/ 4,500 feet
Arrive in Kathmandu International Airport as early as possible on this day. We will provide your airport transfer to the hotel we include for the night. All accommodations on the trek are on a shared basis. If you want to arrive in early, that is not a problem, we are happy to book additional nights in the hotel for you. We will have a group briefing this evening to go over the schedule for the coming days and answer any additional questions you may have.
Day 2 - Fly to Lukla – Trek to Monjo – 2,850m/ 9,350 feet
Fly from Kathmandu to Lukla. We will make an early morning start for the Twin Otter flight to Lukla (2,840m/9,317ft), the gateway to the Khumbu Region. This is an exciting flight, which should give a glimpse of Everest in the distance. In Lukla, we will meet the rest of our trek staff and set off straight away for our first night in the mountain village of Monjo. Depending on what time the flight arrives in Lukla, we may have to stop in the town of Phakding (2,600m/ 8,530 feet) for the night. Hopefully, the team will make it all the way to Monjo. Both villages are situated on the banks of the Dudh Kosi, which drains the whole of the Khumbu Region, and is the main trade route for the entire region. This can be the busiest part of the trail. Today we will walk for 3 hours to Phakding and a total of 5 hours to Monjo. The total distance is 8.8 miles/ 13 km to Monjo from Lukla.
Day 3 - Namche Bazaar – 3,440m/ 11,286 feet
Today we will continue up the banks of the Dudh Kosi River, towards Namche Bazaar. Just past Monjo, we will officially enter the Sagarmatha National Park before following the trail through small villages. We will take a tea break along the way. After tea, the trail then crosses the confluence of the Dudh Kosi and the Bhote Kosi, on a high suspension bridge. The trail then climbs steeply uphill for about two hours to reach Namche Bazaar (3,440m/11,286 feet). This is a prosperous trading town and the capital of the Khumbu Region. Just across the valley to the east stand the peaks of Thamserku and Kangtega, both very impressive mountains. From Monjo, the trek today is approximately 4 hours and the total distance is 5 miles/ 8 km.
Day 4 - Namche Bazaar (Acclimatization Day) – 3,600m/ 11,800 feet reached
Today is an acclimatization day where we will walk to the Sherpa Museum at 3,600m/ 11,811. From here you will have stunning views of Mount Everest and the surrounding mountains. The key is to rest, relax and acclimatize at this height and will make all the difference as we go to high and extreme altitude. The afternoon will be at leisure in Namche Bazaar, resting, eating, and enjoying the sites! Remember that it is still important to continue to drink 4-5 liters of water every day on the trail. Today, the walk up to the Sherpa Museum is only approximately 30 minutes.
Day 5 - Namche Bazaar (Acclimatization Day) – 3,900m/ 12,800 feet reached
This is where our itinerary is different. Instead of heading up to 3,900m/ 12,800 feet and sleeping in Tengboche, we will stay in Namche another night giving you the best possible acclimatization program. During this critical acclimatization phase, we will spend time resting and trekking to higher altitudes to aid in the process. We will wake early for our acclimatization hike today, up to Shangbouche Hill at 3,900m/ 12,800 feet, for beautiful vistas of the whole Everest Region. The goal is to spend some time acclimatizing at this elevation before returning to Namche for lunch. The afternoon can be spent sampling the delights of the Namche Bakeries and local stores! The hike to Shangbouche Hill will take approximately four hours round trip.
Day 6 - Tengbouche – 3,900m/ 12,800 feet
Today we will leave Namche and trek to Tengbouche at 3,900m/ 12,800 feet. From Namche, the well-worn Everest trail contours around the side of the valley high above the Dudh Kosi. As we follow the path, we will get excellent views of the great peaks of the Khumbu; Everest, Lhotse, Nuptse and Ama Dablam. Passing by several villages, we will descend approximately 300m/ 984 feet down to the Dudh Kosi River, where we stop for lunch. After lunch, we will make the steep 700m/ 2,296 feet uphill climb to Tengbouche. This is the home of the impressive and famous Tengbouche Monastery. You can visit the Monastery or the local bakery this afternoon. The hike will be approximately 5 to 6 hours today and covers 7.5 miles/ 12 km.
Day 7 - Dingbouche – 4,350m/ 14,271 feet
We will continue up the trail to Dingbouche today. Shaded by Rhododendron trees, the trail crosses an airy suspension bridge just beyond Debouche. From here, the trail continues approximately an hour before reaching the village of Pangbouche. From here, there are excellent views of Ama Dablam ('Mother's Charm Box') and where we stop for tea. If there is time, we may be able to visit the local Monastery, which was the first in the Everest Region. Contouring up the valley, we will re-cross the river and turn up the Imja Valley to reach the picturesque farming village of Dingbouche at 4,350m/ 14,271 feet above sea level. The hike will take approximately 5 – 6 hours today and cover 7.5 miles/ 12 km.
Day 8 - Dingbouche (Acclimatization Day) - 4,900m/ 16,000 feet reached
Today is spent as another acclimatization day at this critical elevation. Just above the town, while on our acclimatization hike, we will have stunning views of three 8,000/ 26,200 feet peaks; Makalu, Cho Oyu and Lhotse. Our goal today is to ascend to 4,900m/ 16,000 feet for some of the most beautiful views on the trip. This is one of Ian’s favorite days of the trip! After enjoying the views and spending some time at this new elevation, we will descend back to Dingbouche for lunch. The afternoon will be free to enjoy the village of Dingbouche and relax before some more challenging days ahead. The trek today will be approximately 4 hours round trip and you will gain 550m/ 1,804 feet of elevation.
Day 9 - Lobuche – 4,940m/ 16,207 feet
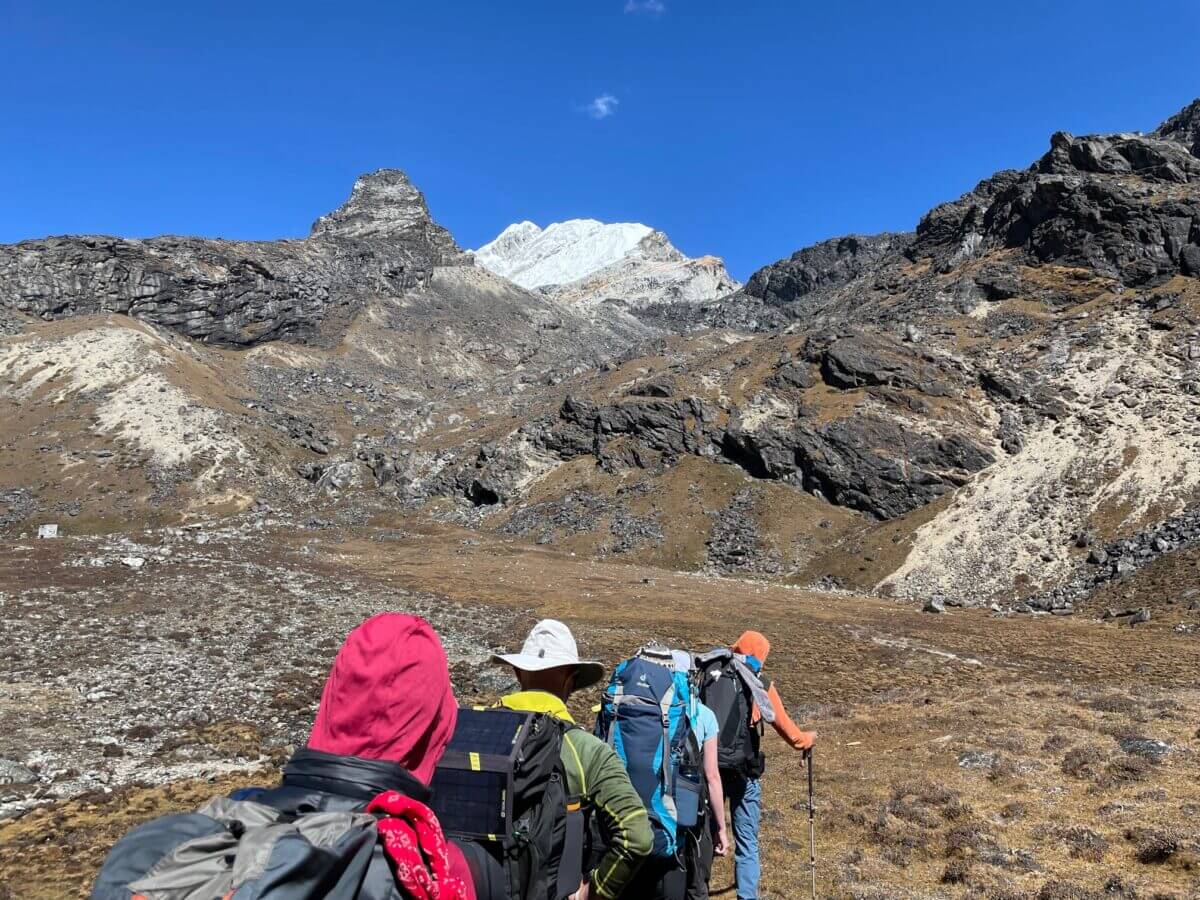
Today we will trek to Lobuche, continuing along the upper trail towards Thukla at 4,620m/ 15,157 feet. Ahead of us is the Lobuje East Peak at 6,119m/ 20,075 feet, and to our left is the formidable north face of Taweche. After approximately three hours walking slowly, we reach the small collection of lodges at Thukla where we will stop for an early lunch. After lunch, we continue the walk up for approximately one hour uphill to the Everest Memorial. From the Memorial, there are outstanding views of Ama Dablam, Cholatse and Taweche. After leaving the Memorial, the trail continues gradually parallel to the famous Khumbu Glacier, that runs off Mount Everest. After approximately another hour, the trail will eventually lead to a small cluster of tea houses pleasantly situated at Lobuche at 4,940m/ 16,207 feet. The total trekking time will be approximately 5 – 6 hours today and you will cover 7.5 miles/ 12 km in distance.
Day 10 - Gorak Shep (5,180m/ 17,126 feet) to Base Camp – 5,364m/ 17,600 feet
Today is the day we trek to Everest Base Camp! We will be up early to start our trek to Gorak Shep, which takes approximately 3 hours to reach 5,180m/ 17,126 feet. Today is a very challenging day on the trail, as we cross glacial moraine on mixed rocky terrain with a lot of up and down hill to cover. Gorak Shep was the site of the 1953 Everest Expedition's Base Camp and where we will stop for an early lunch before continuing to Everest Base Camp. From Gorak Shep, we will traverse more glacial moraine, with landslide potential, for another two hours before reaching Everest Base Camp! Everest Base Camp sits on the Khumbu Glacier and weather depending, we will have time to explore this once and a lifetime chance to be at the base of the World’s Highest Mountain! After approximately one hour here, we will retrace our steps back to Gorak Shep, where we spend the night. Total trekking time today is approximately 7 hours and covers 6.2 miles/ 10 km in distance.
Day 11 - Kala Patthar (5,645m/ 18,520 feet) to Lobuche – 4,925m/ 16,158 feet
Today is an exciting day, but one to remember forever! Normally, the plan is to start hiking at around 4 am, because you want to arrive at the top of Kala Patthar before sunrise. The trail from Gorak Shep leads steeply uphill all the way to the top of Kala Patthar at 5,645m/ 18,520 feet. This takes approximately 2 hours to reach the top and the views off Kala Patthar are spectacular and you will be rewarded with the famous view of Mount Everest! After enjoying the mountain views at the top, we will return to Gorak Shep, which takes about one hour. There, we will pack bags and have breakfast before continuing back down the trail. We will then retrace our steps through the Lobuche where we will stay the night.
Day 12 - Lobuche Base Camp - 4,900m/ 16,076 feet
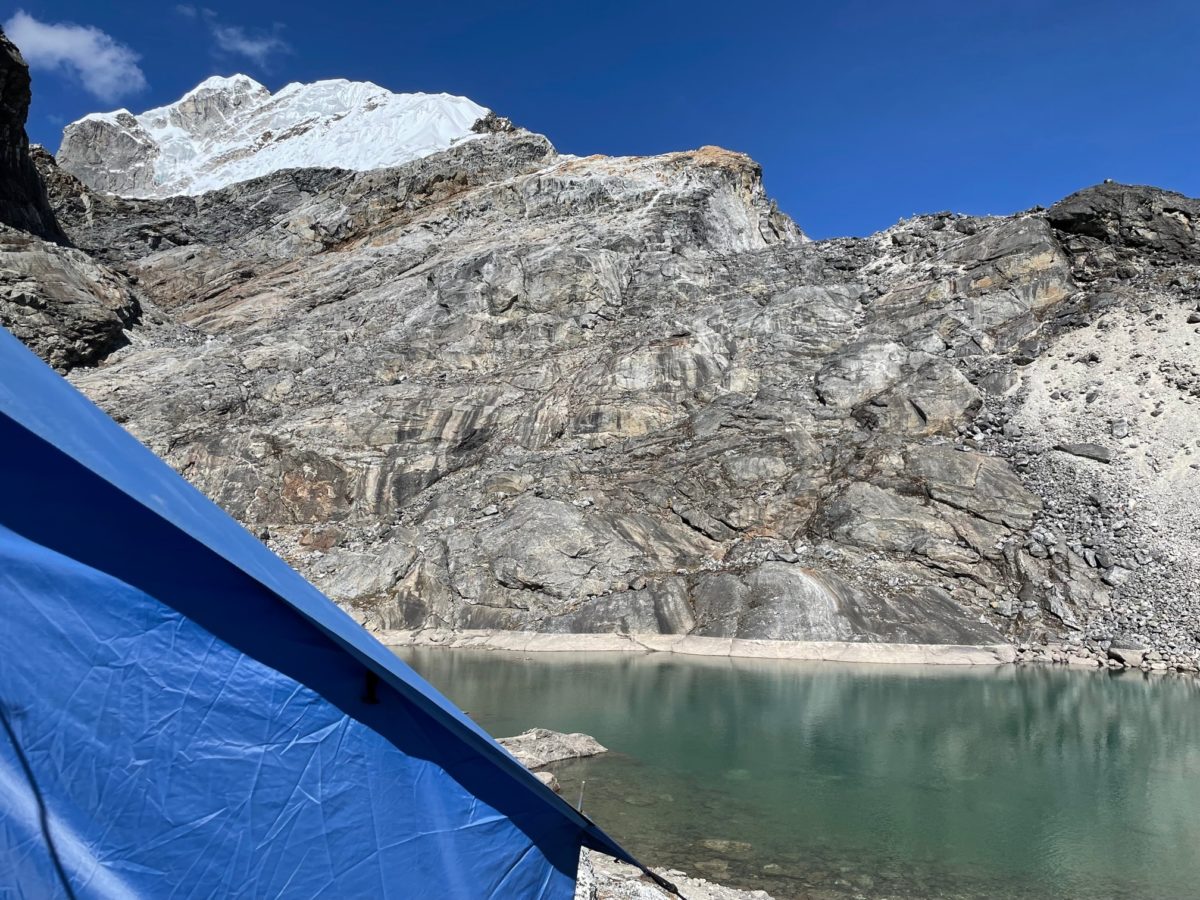
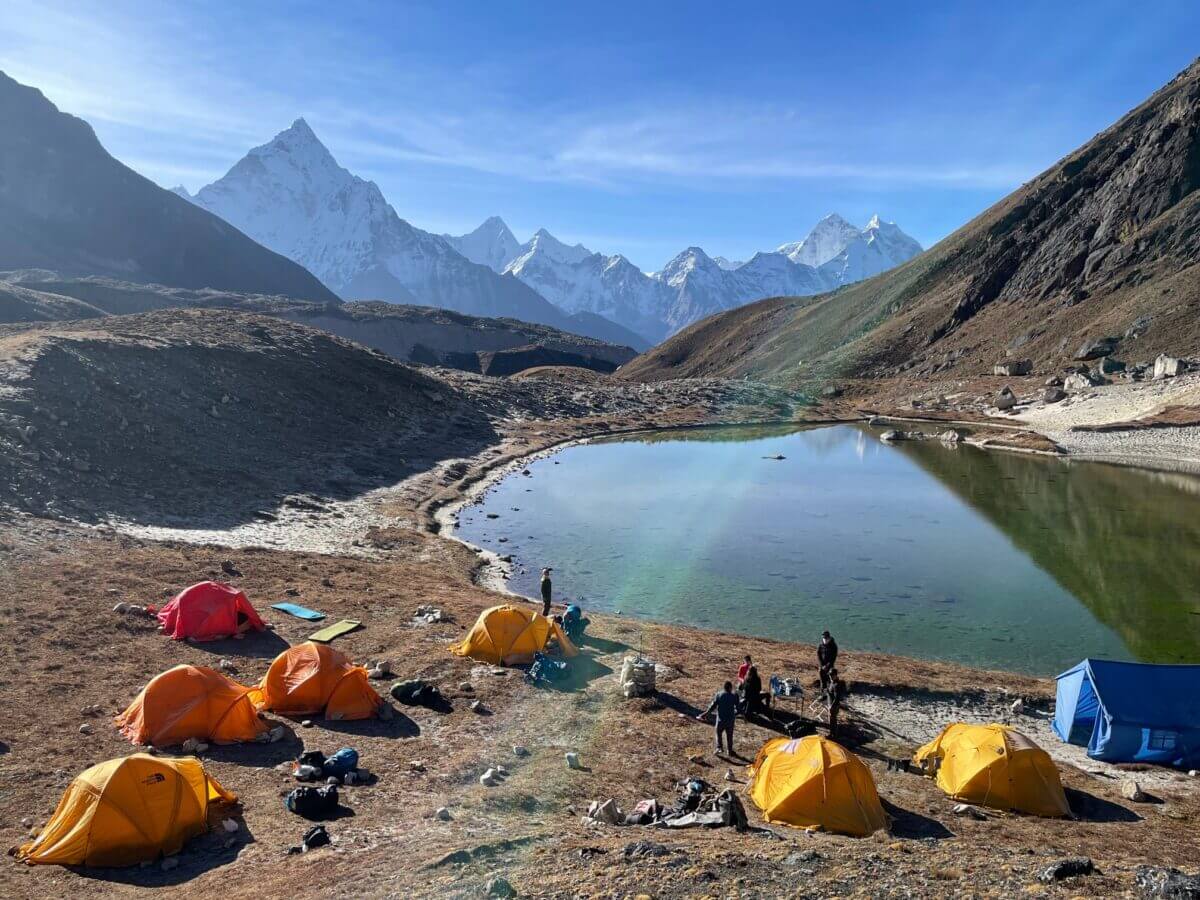
Today we make the very short journey to Lobuche Base Camp at 4,900m/ 16,076 feet. We position our tents by the lake with spectacular views of Ama Dablam and surrounding mountains. On arrival, after a nice lunch, you will go through all climbing equipment and do some training in the afternoon. You will make sure your harness, crampons, Jumar, and all climbing equipment fits and is ready to use. This is a great day to rest up recover and get rehydrated before moving higher.
Day 13 - Lobuche High Camp - 5,200m/ 17,060 feet
We will wake up this morning in this beautiful lake setting, have breakfast and once all of the gear is loaded, we will make our way to Lobuche Peak High Camp. It normally takes 4 hours to reach High Camp. We will follow the trail towards Gokyo with Ama Dablam and then Cholatse dominating the skyline. We branch off the Gokyo trail and head north. The trail is easy at first and then steep as we head up 450m/ 1,476 feet to High Camp. We take our time and move slowly up to High Camp. We camp beside another lake and rest and prepare for the summit attempt.
Day 14 - Lobuche Peak Summit – 6,119m/ 20,075 feet
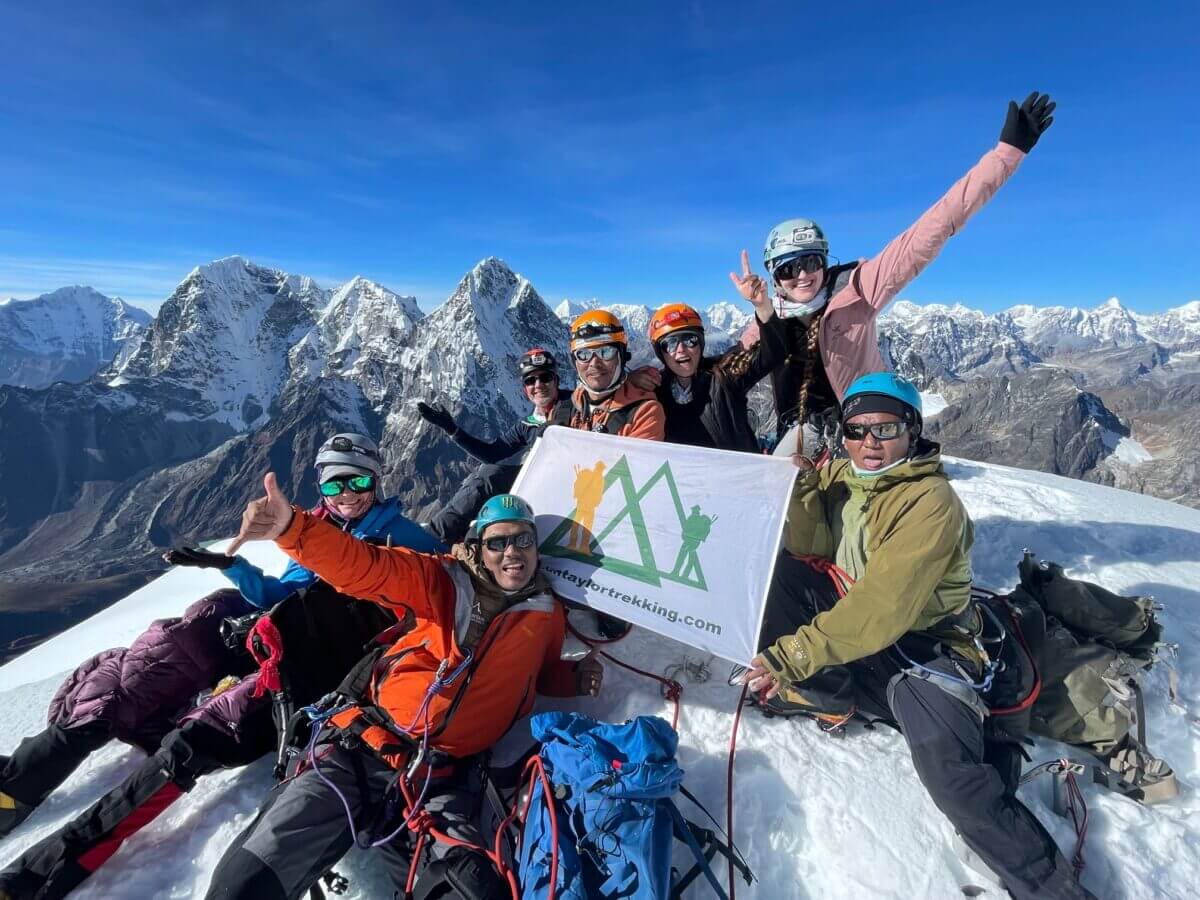
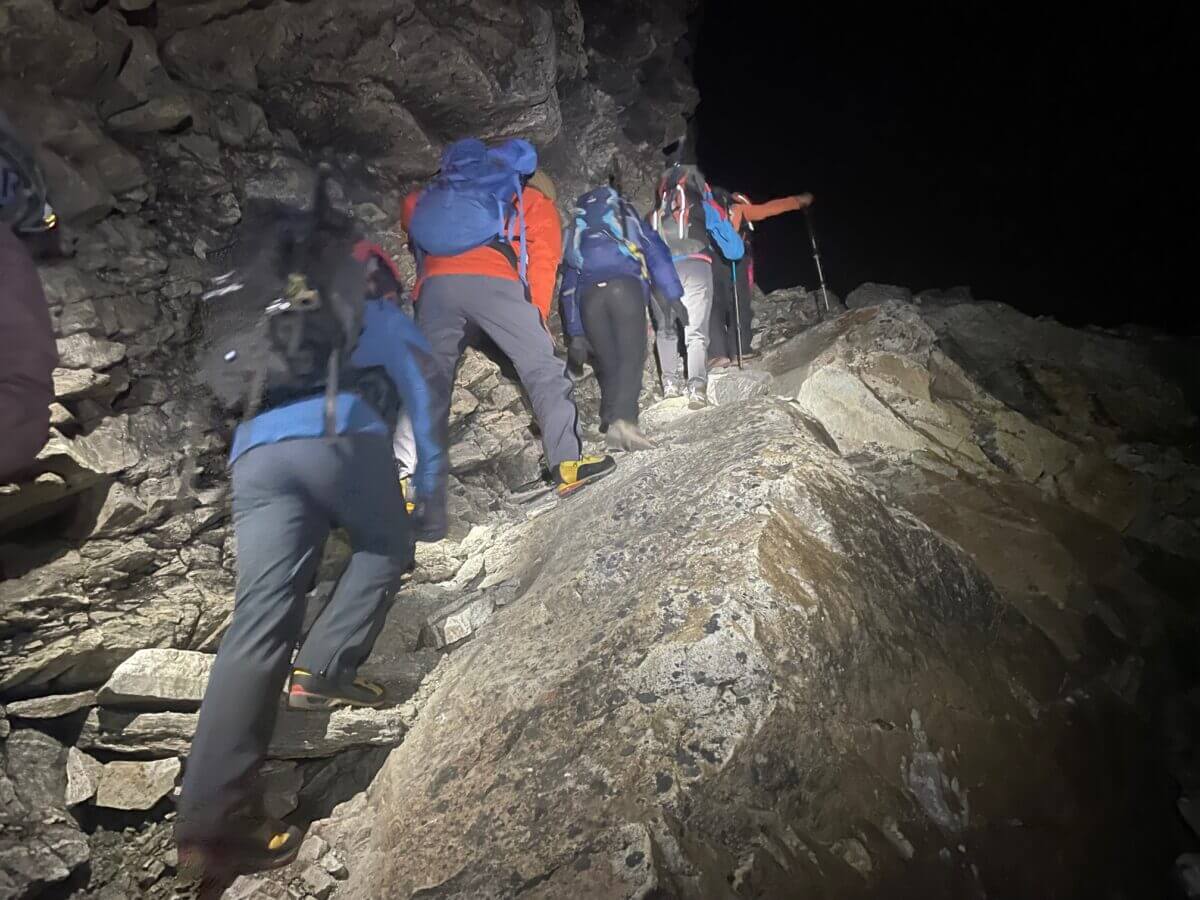
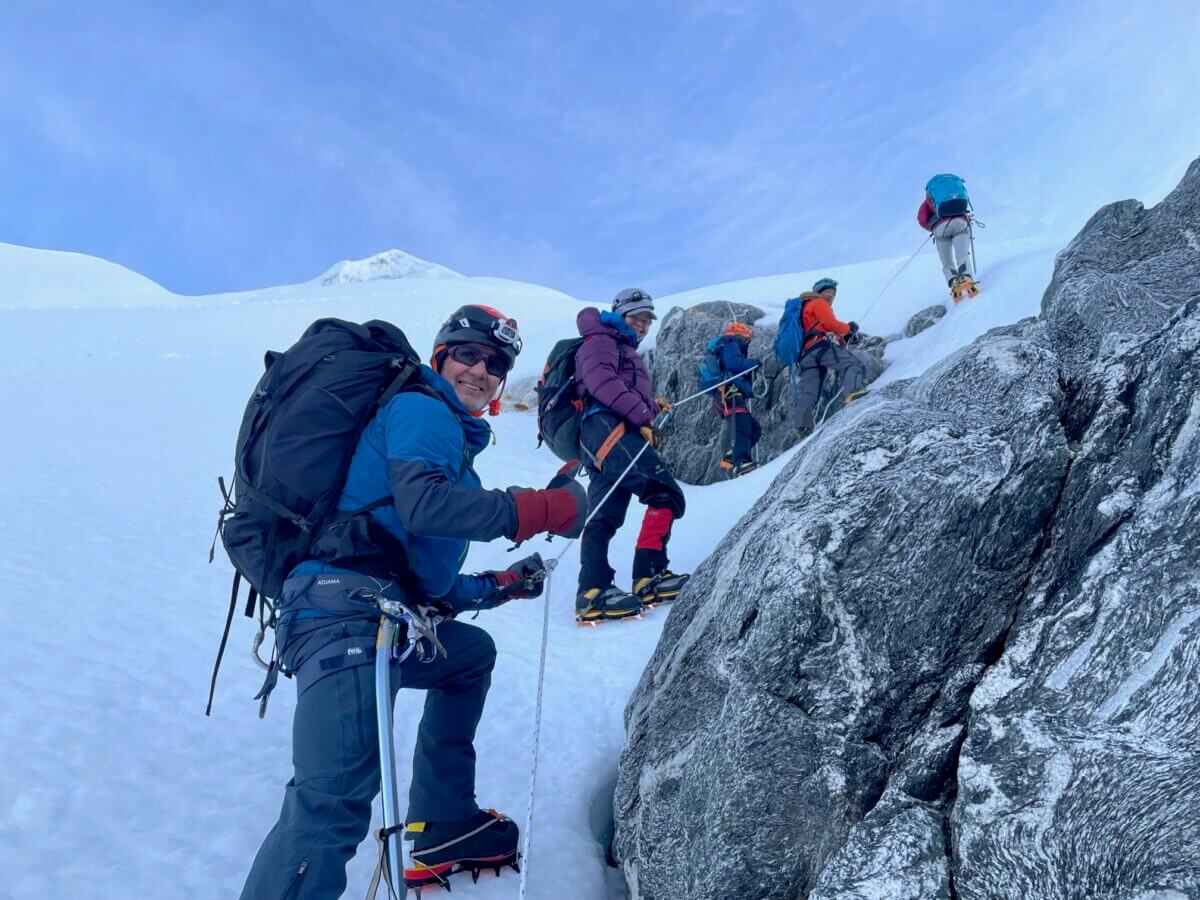
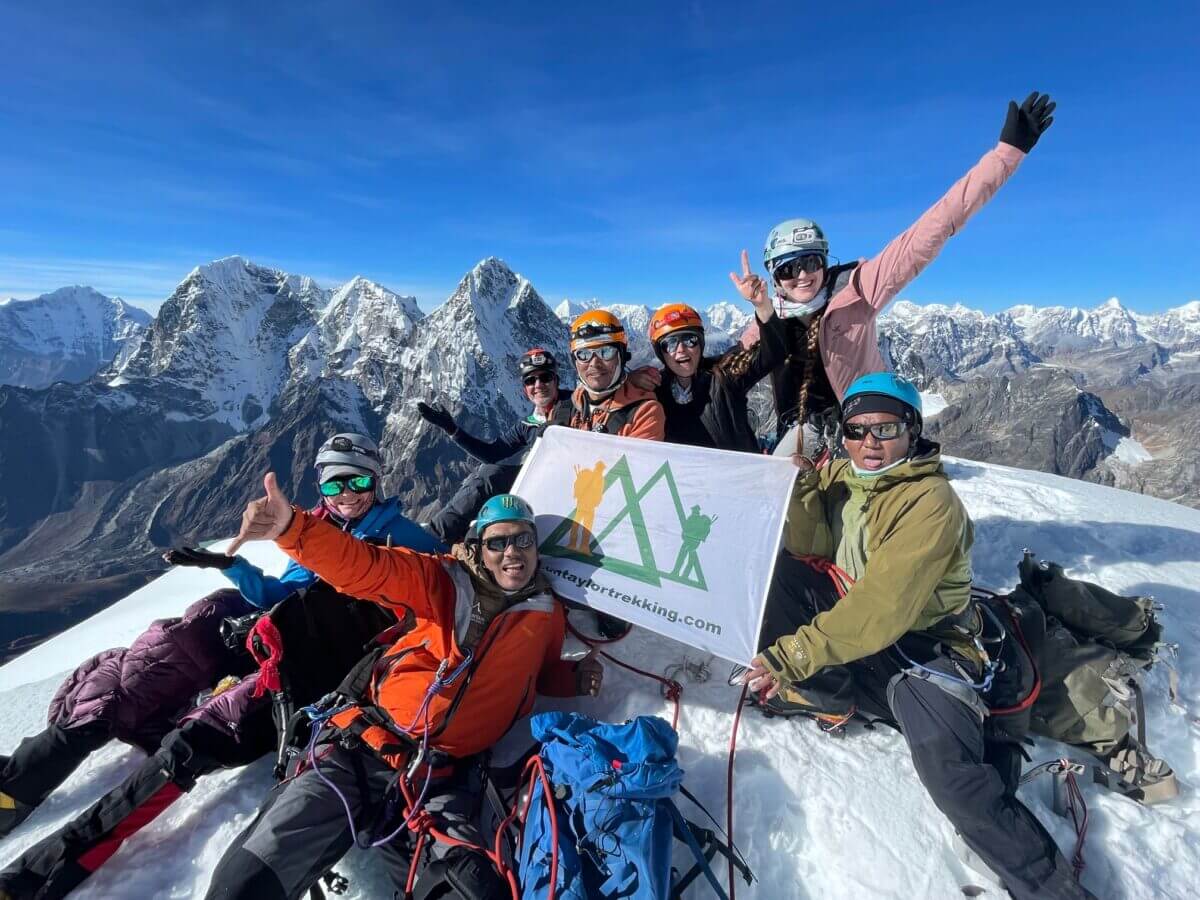
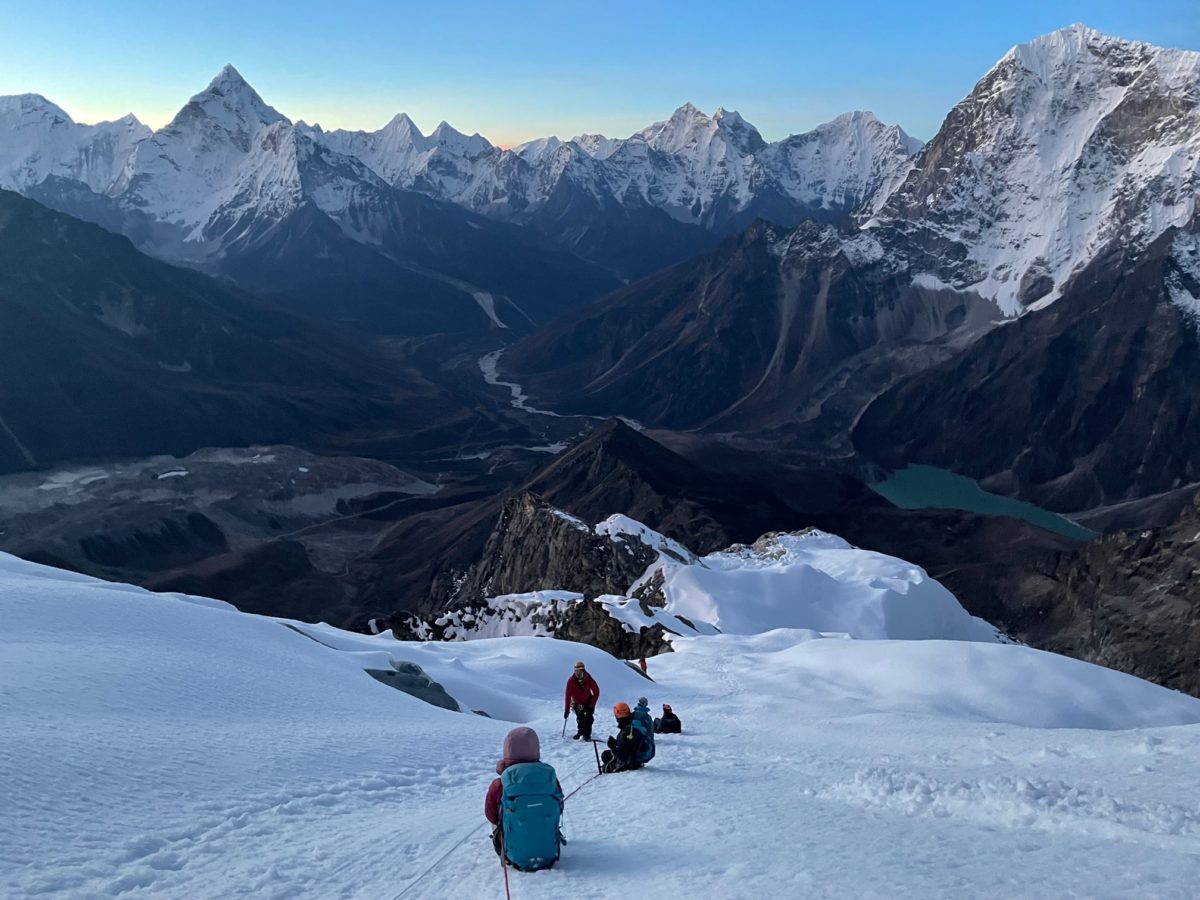
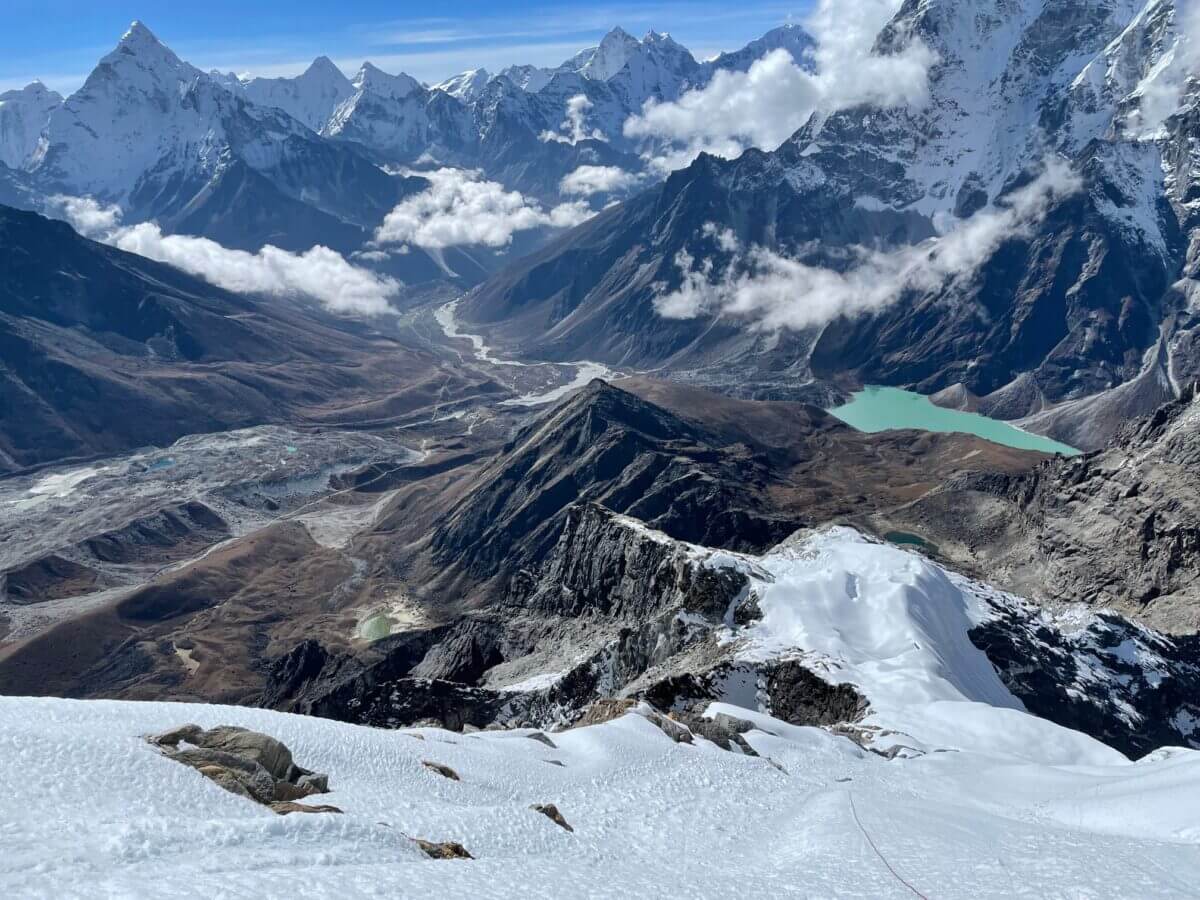
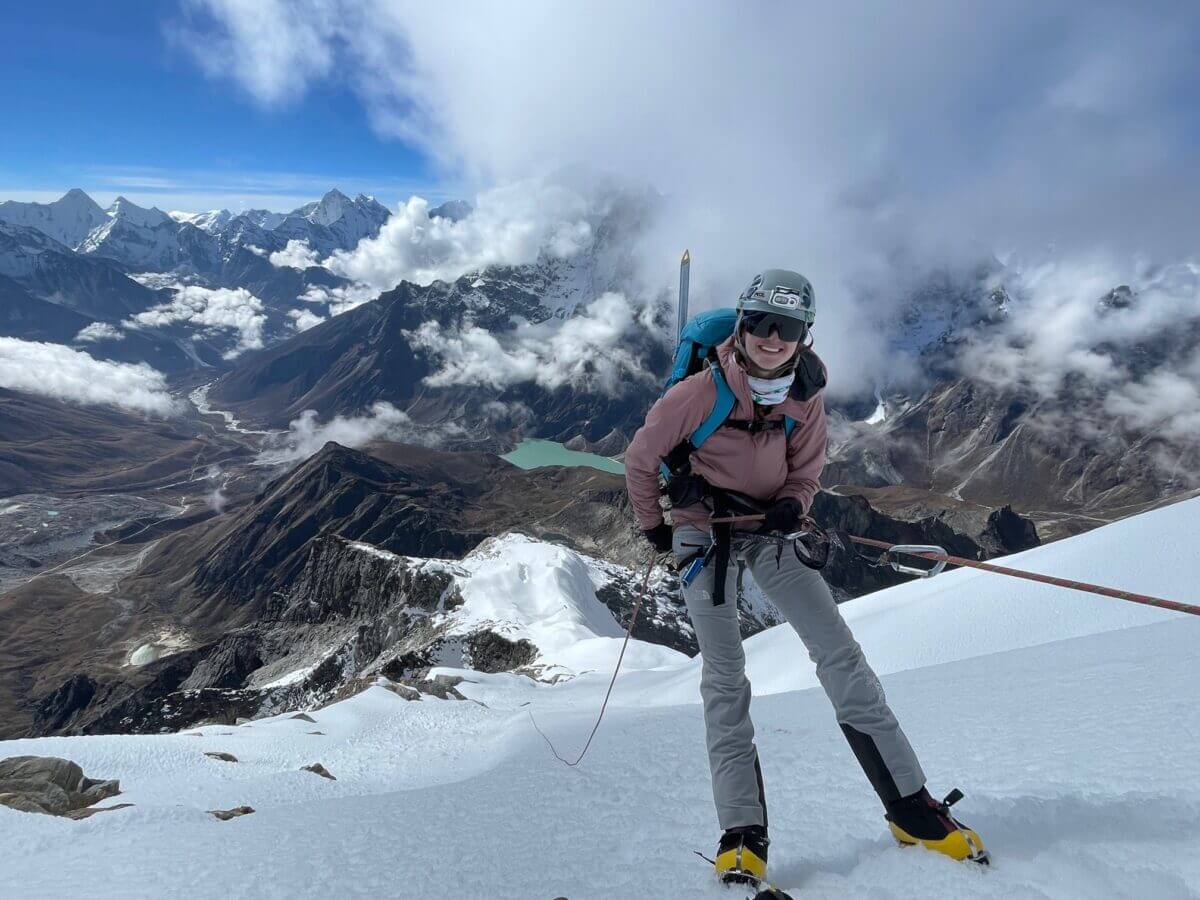
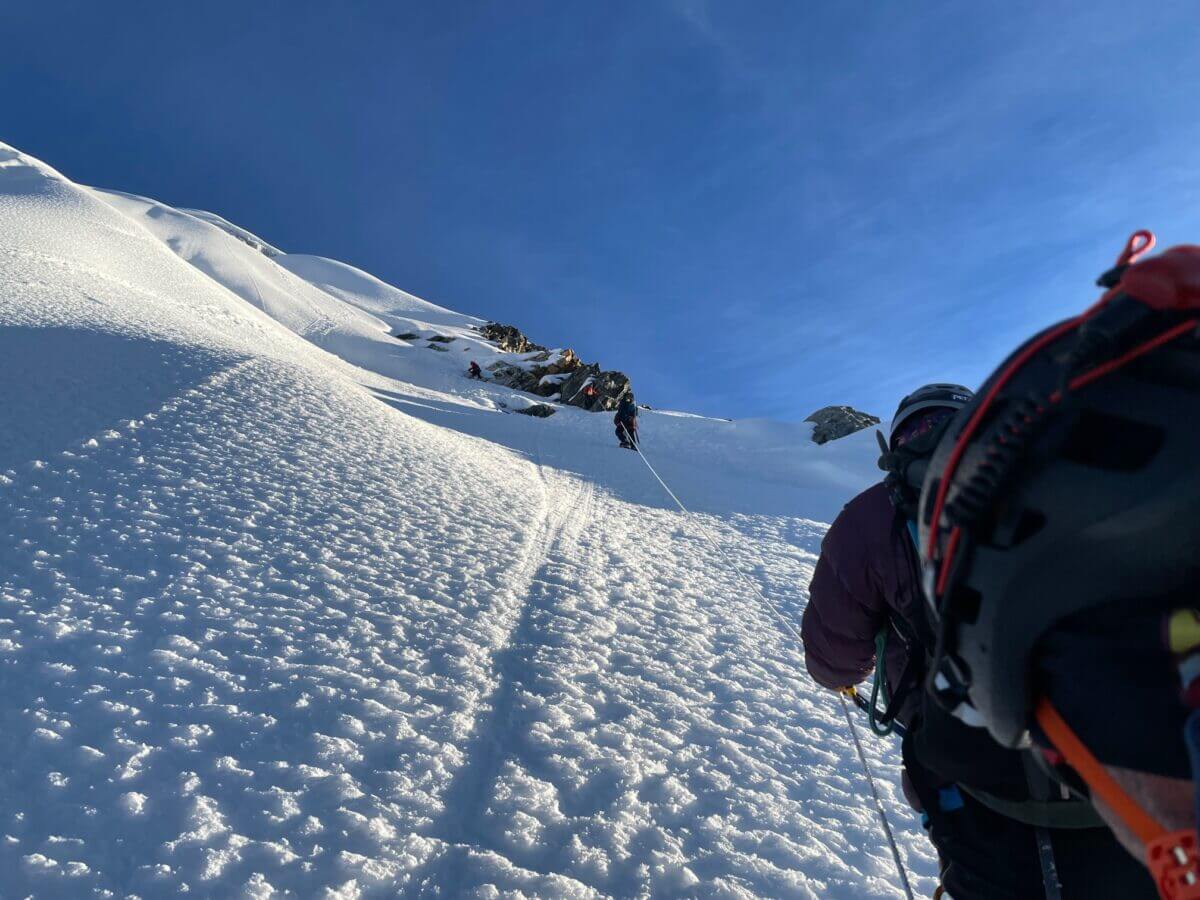
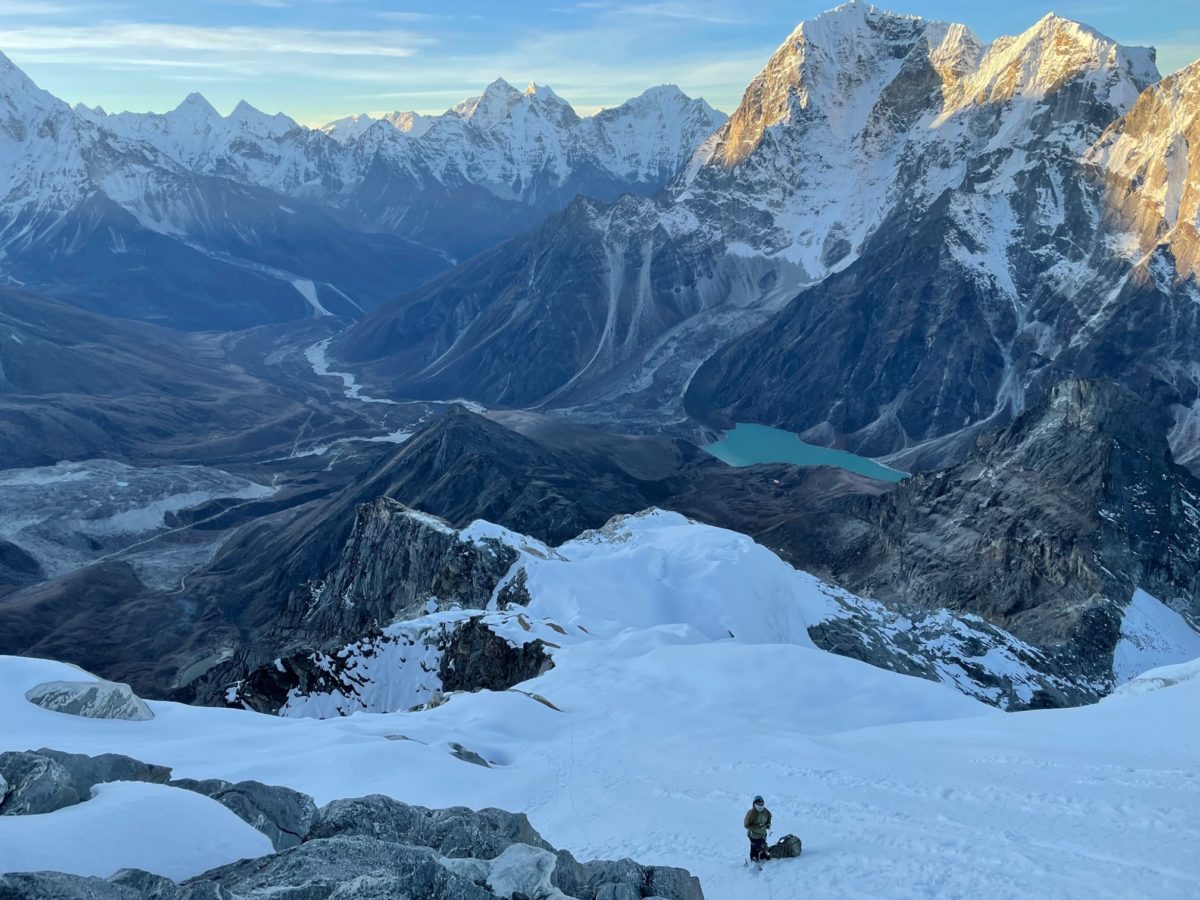
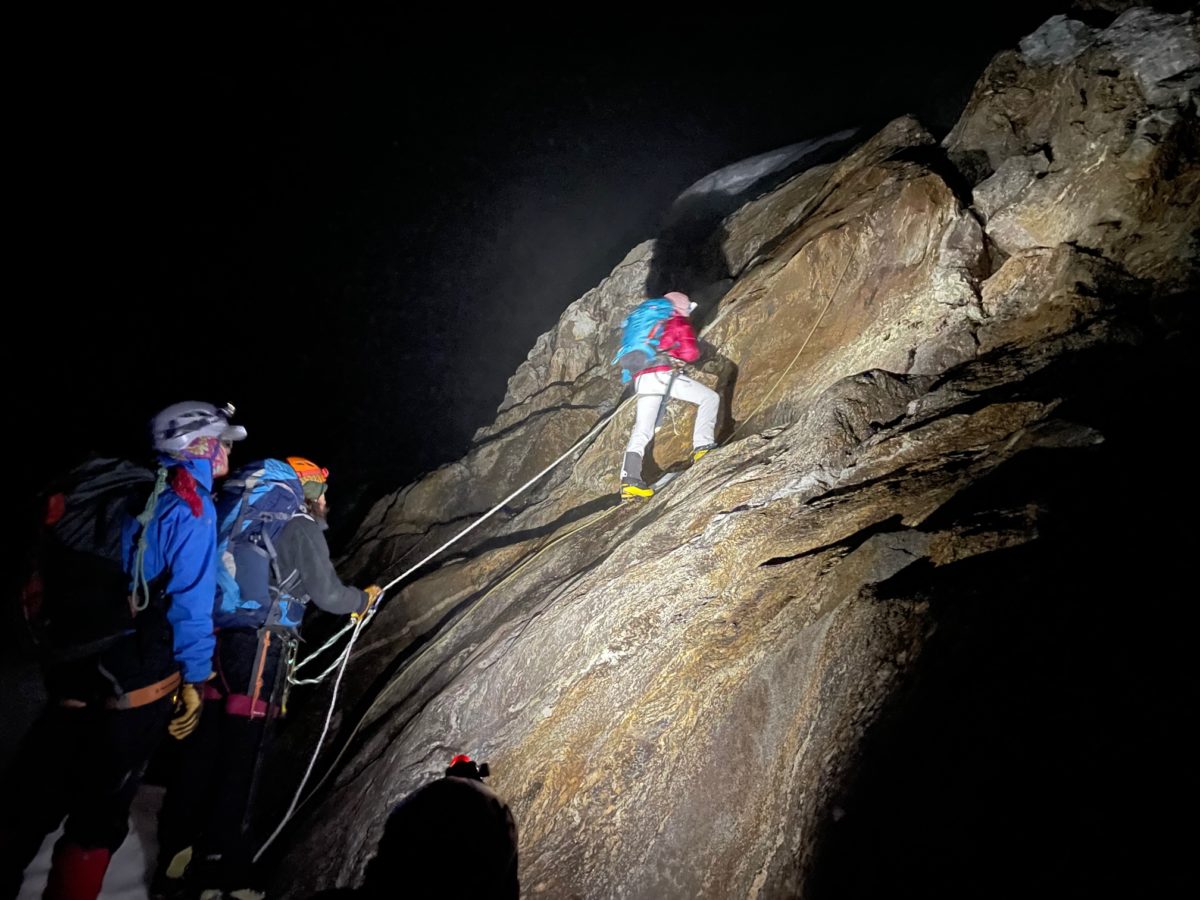
Depending on the weather we may make our summit attempt. Our goal is to leave at 1am and slowly make the 3 hour journey up to Crampon point at 5,700m/ 18,700 feet. The rocky hike up is steep in places aided by some fixed lines for safety. Once we reach crampon point we will rope up Alpine style until be reach our fixed lines. Our Sherpa team will fix our own ropes up the steep terrain all the way to the summit. From Crampon point to the summit usually takes 3 to 4 hours. The totally time to reach the summit normally takes 6 to 7 hours. After celebrating we make the long descent back to High Camp for the night.
Day 15 - Lobuche Peak Spare Summit Day – 6,119m/ 20,075 feet
We will pick the best weather day to make our ascent. After all the training and acclimatization it is important to have more than one summit attempt.
Day 16 - Pheriche– 4,200m/ 13,780 feet
After breakfast we will retrace our steps back to the main trail and then take a shortcut back into Thukla 4,620m/ 15,157 feet. We will then take the lower Everest trail back to Pheriche for the night.
Day 17 - Tengbouche – 3,900m/ 12,785 feet
We have a lot of flexibility in our itinerary. All going well the team will make the 4 hour trek back to Tengbouche. We can take our time today and recover from the strenuous ascent of Lobuche East. We prefer to take our time and enjoy the journey back down. From Pheriche we make our way back past Shomare and Pangbouhe before the 20 minute uphill back into Tengbouche.
Day 18 - Namche Bazaar - 3,440m/ 11,300 feet
From Tengbouche, the trail continues downhill for one hour, until we reach the river. From here, there is a one hour and thirty-minute ascent, back up to the Ama Dablam View Guesthouse, where we will have a short tea break. There is another approximately hour and thirty minutes before we reach Namche Bazaar by lunchtime. This hike should take 4 hours. It is now time to take a shower, relax and get some rest!
Day 19 - Lukla – 2,850m/ 9,350 feet
Today is the final day of trekking!! It will be another long day as we must get all the way back to Lukla for the night. The day starts with a one-hour descent from Namche, back to the high suspension bridge. Following the river from here, you will have to trek up and down stairs and trails, retracing our steps back to Phakding, where we will stop for lunch. After lunch, it will be a gradual two-and-a-half-hour ascent back into Lukla at 2,850m/ 9,350 feet. The hike today will take approximately 8 hours and we will not reach Lukla until late afternoon. The distance covered today is 13 miles/ 21 km and you will enjoy your final night spent in the Everest Region tonight.
Day 20 - Fly to Kathmandu – 1,400m/ 4,500 feet
We will wake early today and have breakfast before returning to the Lukla Airport for the flight back to Kathmandu. If the weather is cooperating, then you would be back in the hotel in Kathmandu by early morning! You can spend the day at Leisure in Kathmandu, enjoying the sites, including Pashupatinath, Swayambhunath and the districts of Bhaktapur and Patan. Durbar Square is also on the essential list, as is the shopping area of Thamel or get a treatment at one of the many spas in Kathmandu. We include a celebration team dinner in a nearby restaurant and the night in the hotel is also included on a shared basis.
Day 21 - Kathmandu
Today is the final day of our itinerary. We recommend that you do not book your return flight until no earlier than the evening on this day. That will be critical if there are any delays getting out of the mountains on the day before. We include your return transfer back to the international airport for your onward journey. If you want to spend any extra time in Kathmandu, we are happy to book additional nights for you in the hotel.
Equipment
The gear and clothing needed for Lobuche Peak is similar to Island Peak so you can see what Ian will bring on a trip. Making sure that you have the correct gear and clothing for the trip will be essential to your comfort and ultimately your success on the mountain. The following video will show you what you should consider packing for your Lobuche Peak trek and climb.
First thing to do is watch our Island Peak packing video and then CONTACT US to find out more information on our service and how we approach our Lobuche Peak climbs.
Test all Your Gear
Remember you need to test your gear and get outdoors to make sure you are comfortable in your gear. You will want to break in your trekking boots and make sure your mountaineering boots are comfortable and working well. If you sign up to one of our Lobuche Peak trips, then we send you our 40 page dossier. The Dossier includes an itemized kit list and further information on training and preparation for this exciting adventure.
If you are unsure of any piece of gear you can CONTACT US and we can help you pick the right gear for you. We are always available to talk through gear and clothing options once you sign up to one of our trips. Also, we rent a range of gear out of our Kathmandu office. We have sleeping bags, sleeping mats, trekking poles and down jackets. Just get in touch and chat with our team.
FAQ'S
Q). How much does a visa cost to enter Nepal?
A). Visa entry for Nepal costs USD $50 for a 30 day visa and USD $100 for 90- day visa.
Q). How much is a meal in Kathmandu?
A). An average meal in Kathmandu is approximately USD $10 – $15 per meal.
Q). How much should you tip your guides after the climb?
A). The tip given at the end of a trip should be roughly USD $250 – $350.
Q). Can I leave spare luggage in the Kathmandu hotel while I am on the trek?
A). Yes, the hotel we use in Kathmandu has a luggage storage room for any travel clothes or spare items you want to bring with you to Nepal, but not on trek.
Q). Where do I get water from on a trek and climb?
A). You should use water purification tablets in the 4/5 liters of water you will be drinking each day. Avoiding water borne illness on the trek is imperative! You can buy these in Kathmandu or on the trail to Mount Everest. Bottled water (plastic) has been outlawed in the Everest region as of 2019. Therefore, you will not be able to purchase bottled water anywhere along the trail any longer. You will want to make sure that you have adequate amounts of water purification tablets with you for the entire trek. 30 minute treatment is ideal. Check when you purchase. There will be access to water throughout the whole trip.
Q). Is the Everest Region expensive?
A). The higher up the trail you go in the Everest Region, the higher the price tags are for items! Anything you want to purchase in the region has to be carried in on the back of a porter or animal, which is why things are more expensive the further they have to travel. Boiled water in Nalgene, for example, is between USD $2 – $4 and this will vary the higher up you go. Coffee can be $3 – $5.
Q). When is the best time to trek to Mount Everest Base Camp and climb Lobuche?
A). What time of year you should go to Everest Base Camp will depend on the experience you are looking for. Some of our favorite times to be in the region are late October into November, where the crowds start to dissipate and the temperatures are a bit colder, bringing the crisper and clearer views. Another popular time to visit is March and April. April is one of the busier months to be in the region – but there is a reason for that! Generally, the weather is stable and the views are clear, with less heat haze that can impede the views.
Q). When is trekking season in the Himalayas?
There are two distinct trekking seasons in the Himalayas; pre-monsoon (February, March, April and May) and post monsoon (late September, October, November and December). It is also possible to make the journey in January and early September. Our personal favorites are March, April, late October and November.
Q). When is the Everest Base Camp quiet and Lobuche?
A). The quietest time to visit the Mount Everest Base Camp are January, February March, September, November and December.
Q). When is the warmest time to visit Everest Base Camp and Lobuche?
A). May and September are usually the warmest time to visit Everest Base Camp. However, while we normally see warmer temperatures in May, we have also seen years where it has snowed on the trail and been quite cold along the way! You never know what the weather will be like in the region, but generally May is a warm time to be there.
Q). When is the main climbing season for Lobuche Peak?
A). The main climbing season for Lobuche is March, April, May and October and November each year. I personally prefer March, April and November for this trip.
Q). Which vaccines are required to visit Nepal?
Unless you are entering Kathmandu from tropical Africa, then there are no legally required vaccinations to enter or exit from Nepal. Even though there are no required vaccines, there are, however, some that are highly recommended. We suggest that you keep up to date with the current vaccine list through the CDC or your local Travel Medical Center. The recommended vaccines will also depend on when or where else you will be traveling when you visit Nepal as there are different recommendations for different regions. The general recommended vaccines to receive, however, include tetanus, Hepatitus A, Hepatitus B, Typhoid, Poliomyelitis, Rabies, Meningoccal Meningitis, Japanese Encephalitis, COVID-19, and Yellow Fever (only if traveling from a country with Yellow Fever).
Q). How do I choose the right lodges for a trek to Lobuche?
A). Ian Taylor Trekking offer some of the best accommodation on offer for every trek. Our service is second to none. We use the same lodges on every trek. The lodge owners know us and we know them. This helps us offer you consistency for your trek. We have been building relationships in the region for years to make sure you have the most comfortable experience on your journey to Everest Base Camp and Lobuche Peak.
Q). Is it difficult to Climb Lobuche Peak?
A). My answer has to start with acclimatization and itinerary. We have more acclimatization and we use Lobuche Base Camp and both High Camp. This certainly makes the summit attempt much more achievable. This is a relative question. For people who are used to hiking long distances, with a weighted back pack over years, they might find the trek relatively easy. However, for people who have no access to hills, or that are not used to hiking or training on a regular basis, they will need to train hard for this trip and will likely find it difficult. We can help you come fully prepared.
Ready to go?
Our unique itinerary offers you the best chance at safely reaching the summit of Lobuche. More acclimatization and more days to reach the summit is what sets us apart.
We pride ourselves on making sure that our clients have every opportunity to succeed on Lobuche Peak. We include professional training advice, gear lists and video links on how to pack your bag, and much more. We are always available to answer any questions you may have by email, phone or skype, so contact us today!


