
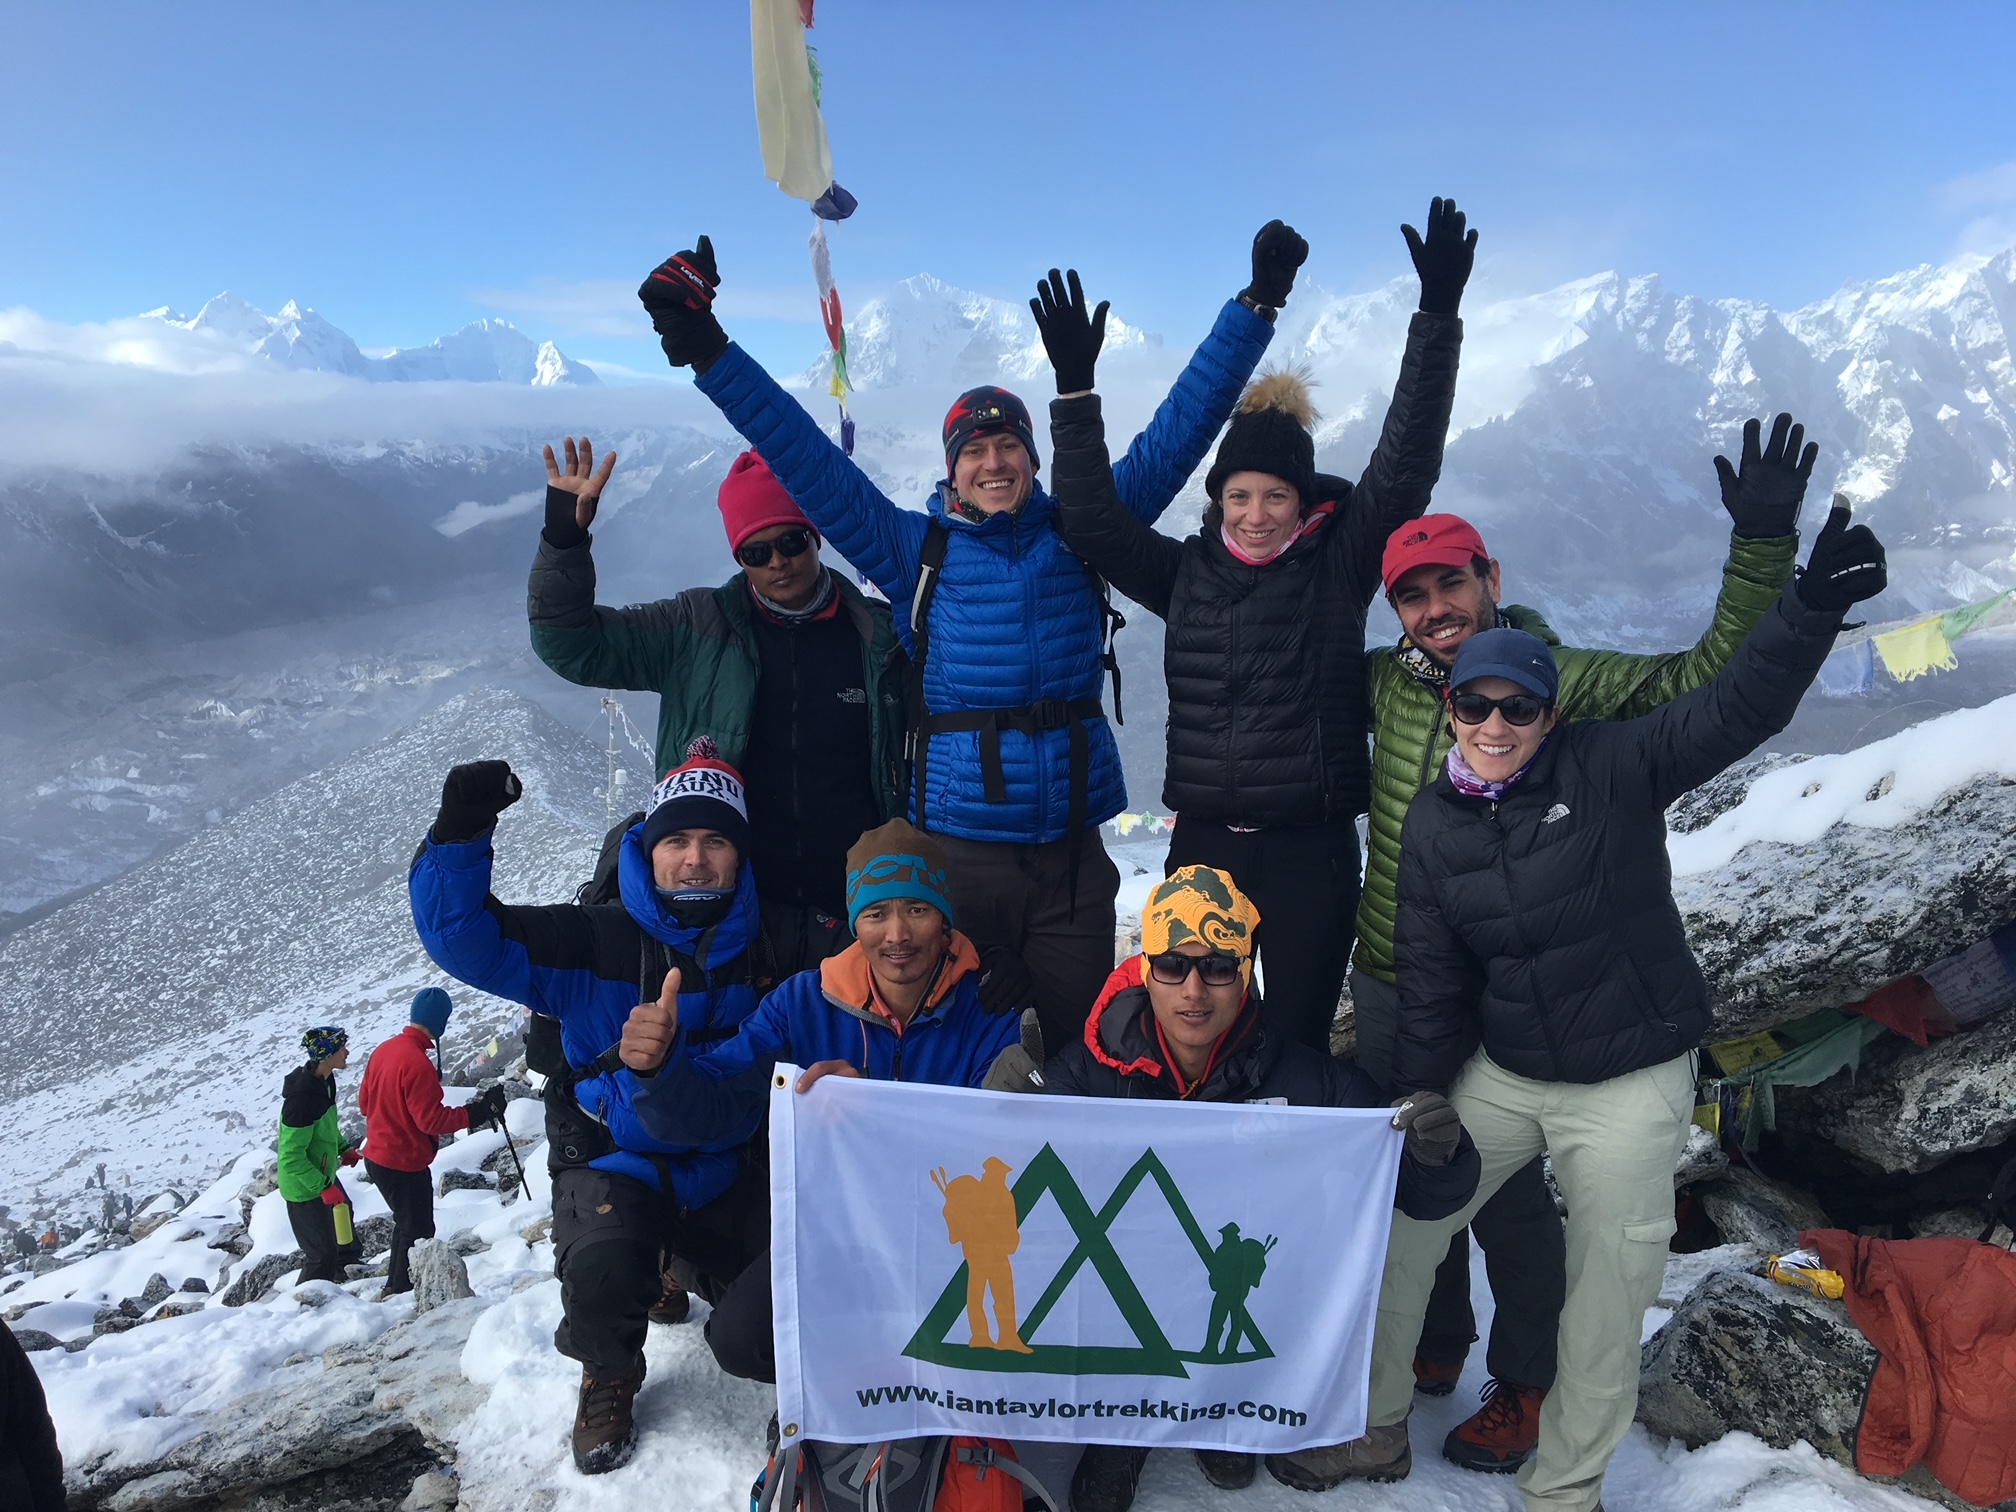
How do you Train for Hiking Downhill? I have climbed Everest to the top and led over 150 expeditions above 17,000 feet. There are lots of things that make a safe and successful adventure. There is one sure thing. Once you have reached your goal, you need to be have energy and the ability to walk out after a successful trip. Check out our tips for hiking downhill.
Assess the Downhill for Your Chosen Trip
Depending on your chosen adventure, you do need to assess the level of downhill. What is also important to review of the gradient. Does the mountain have a 10, 20, 30 degree incline. It the descent all on stairs. This is important to review this important.
We have elevation gains and descents available for all of our key trips. I encourage you to review the daily elevation drops and what type of terrain you will be walking on. This is critical in evaluation the level of preparation you need to apply to your training program.
The Best way to Train for Downhill
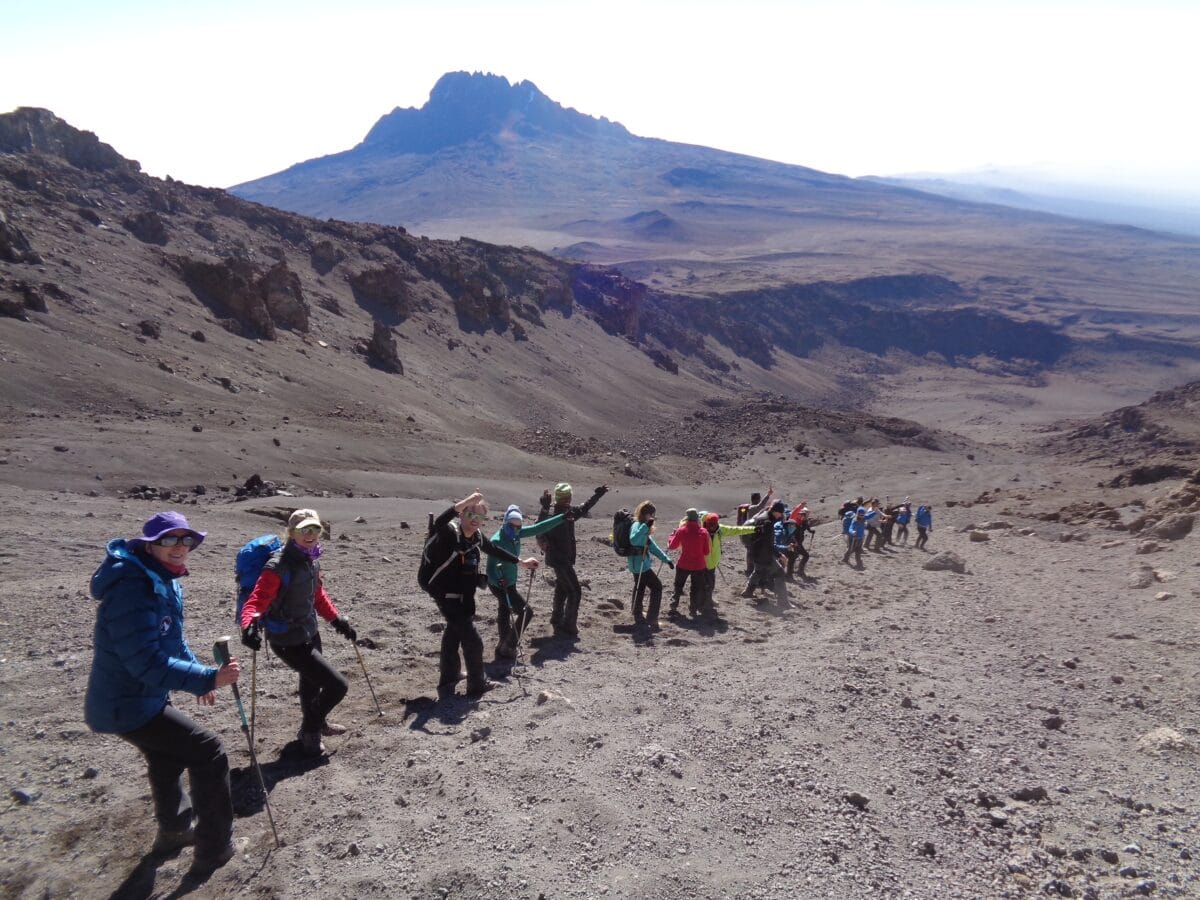
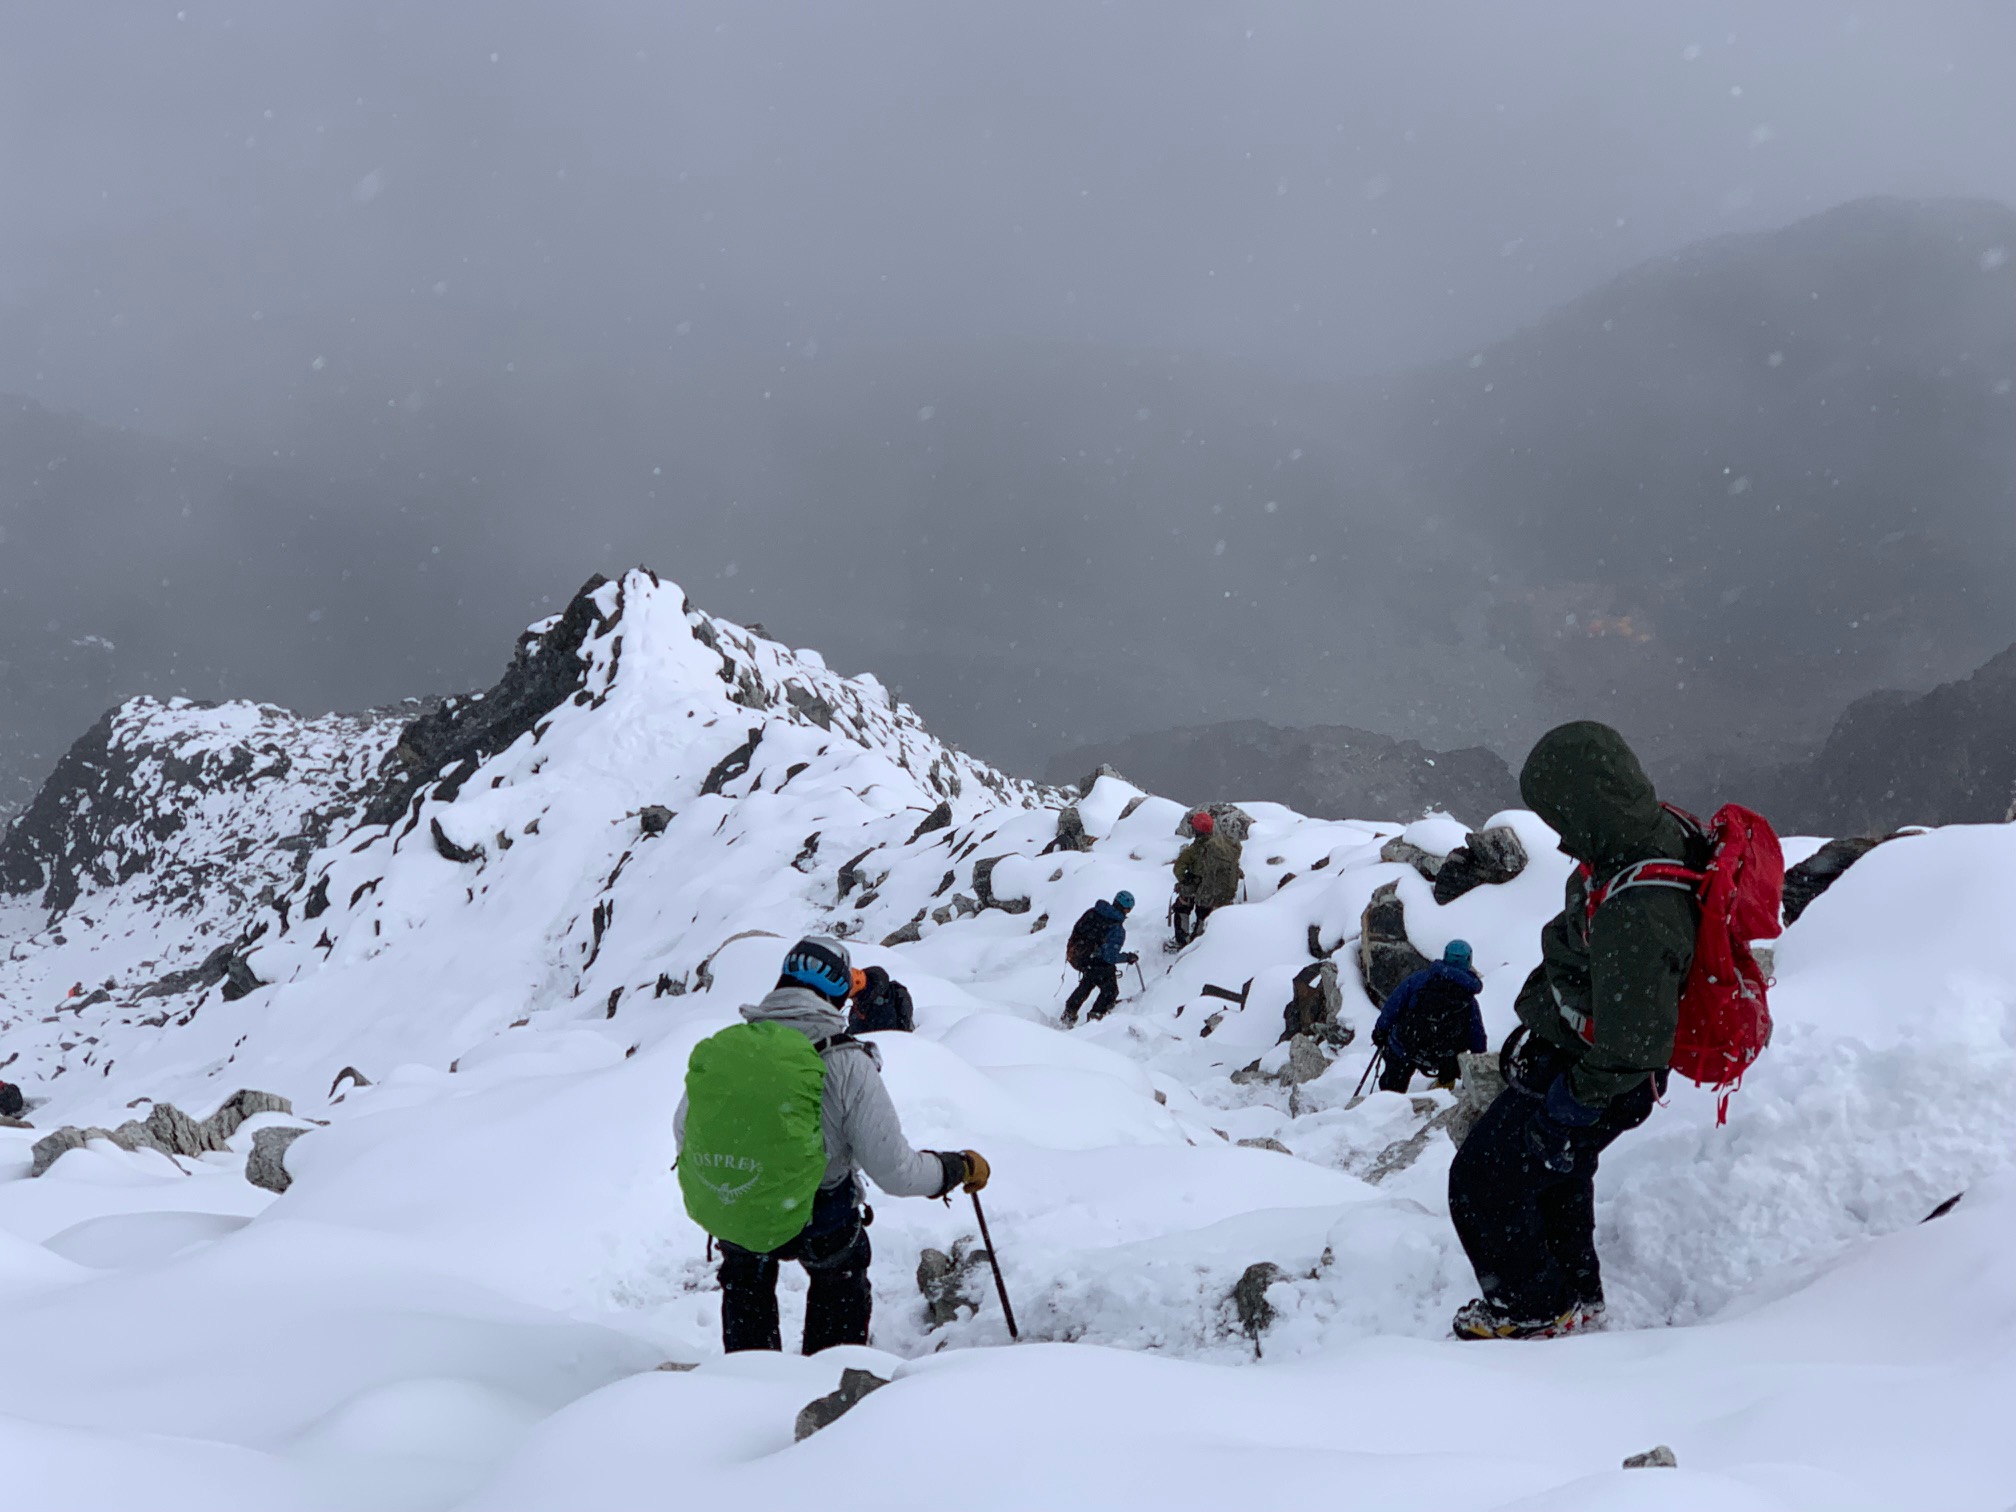
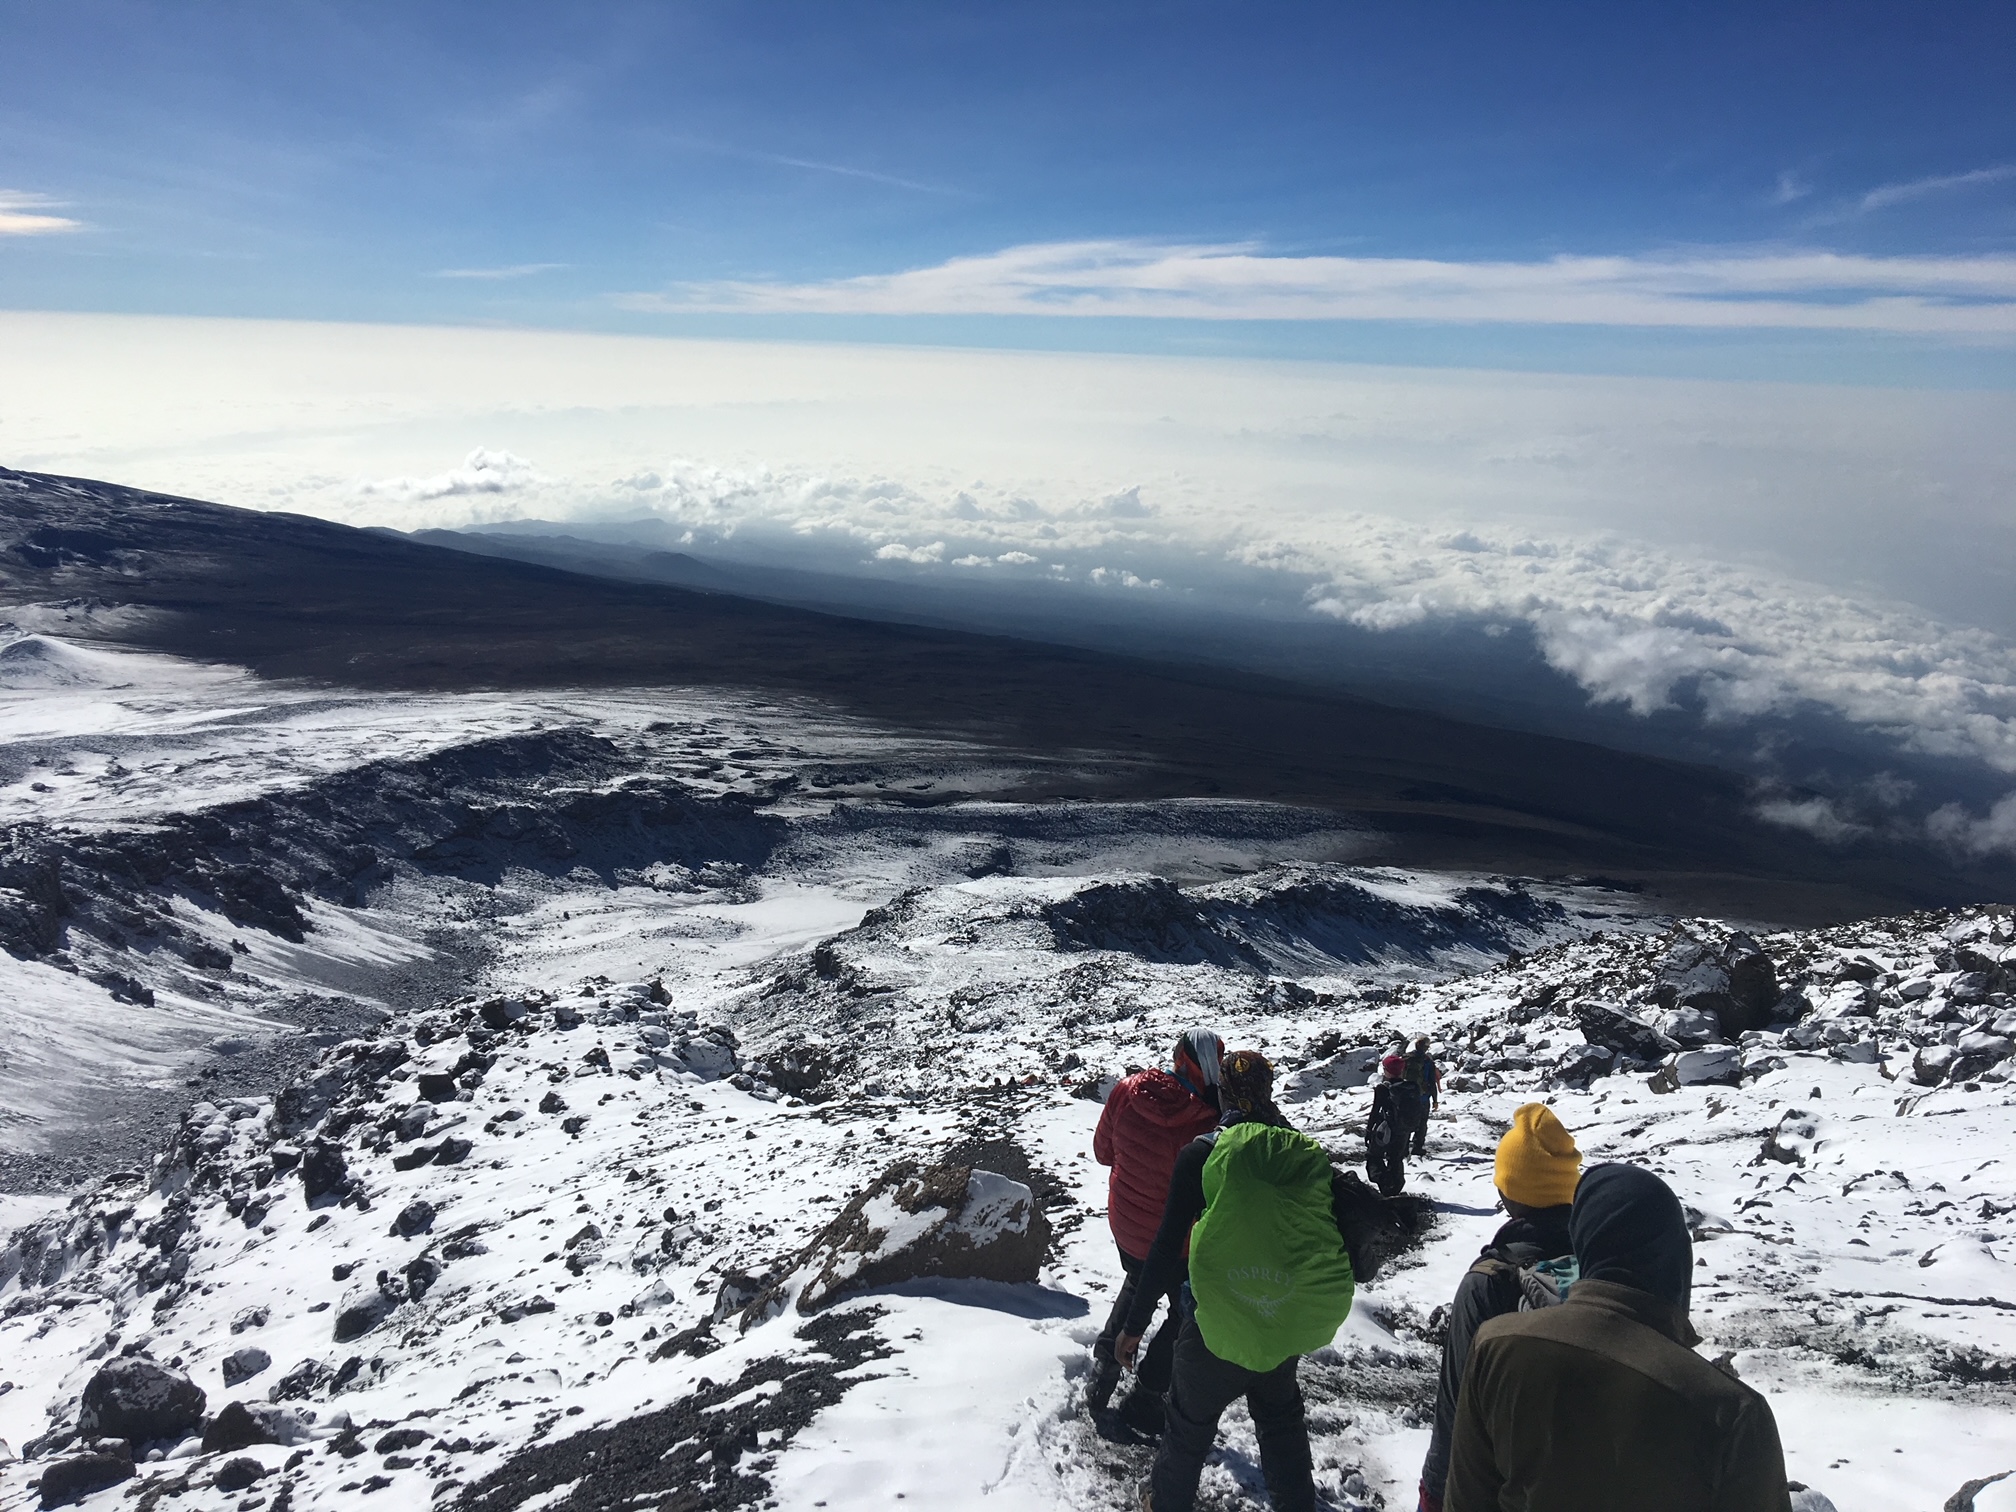
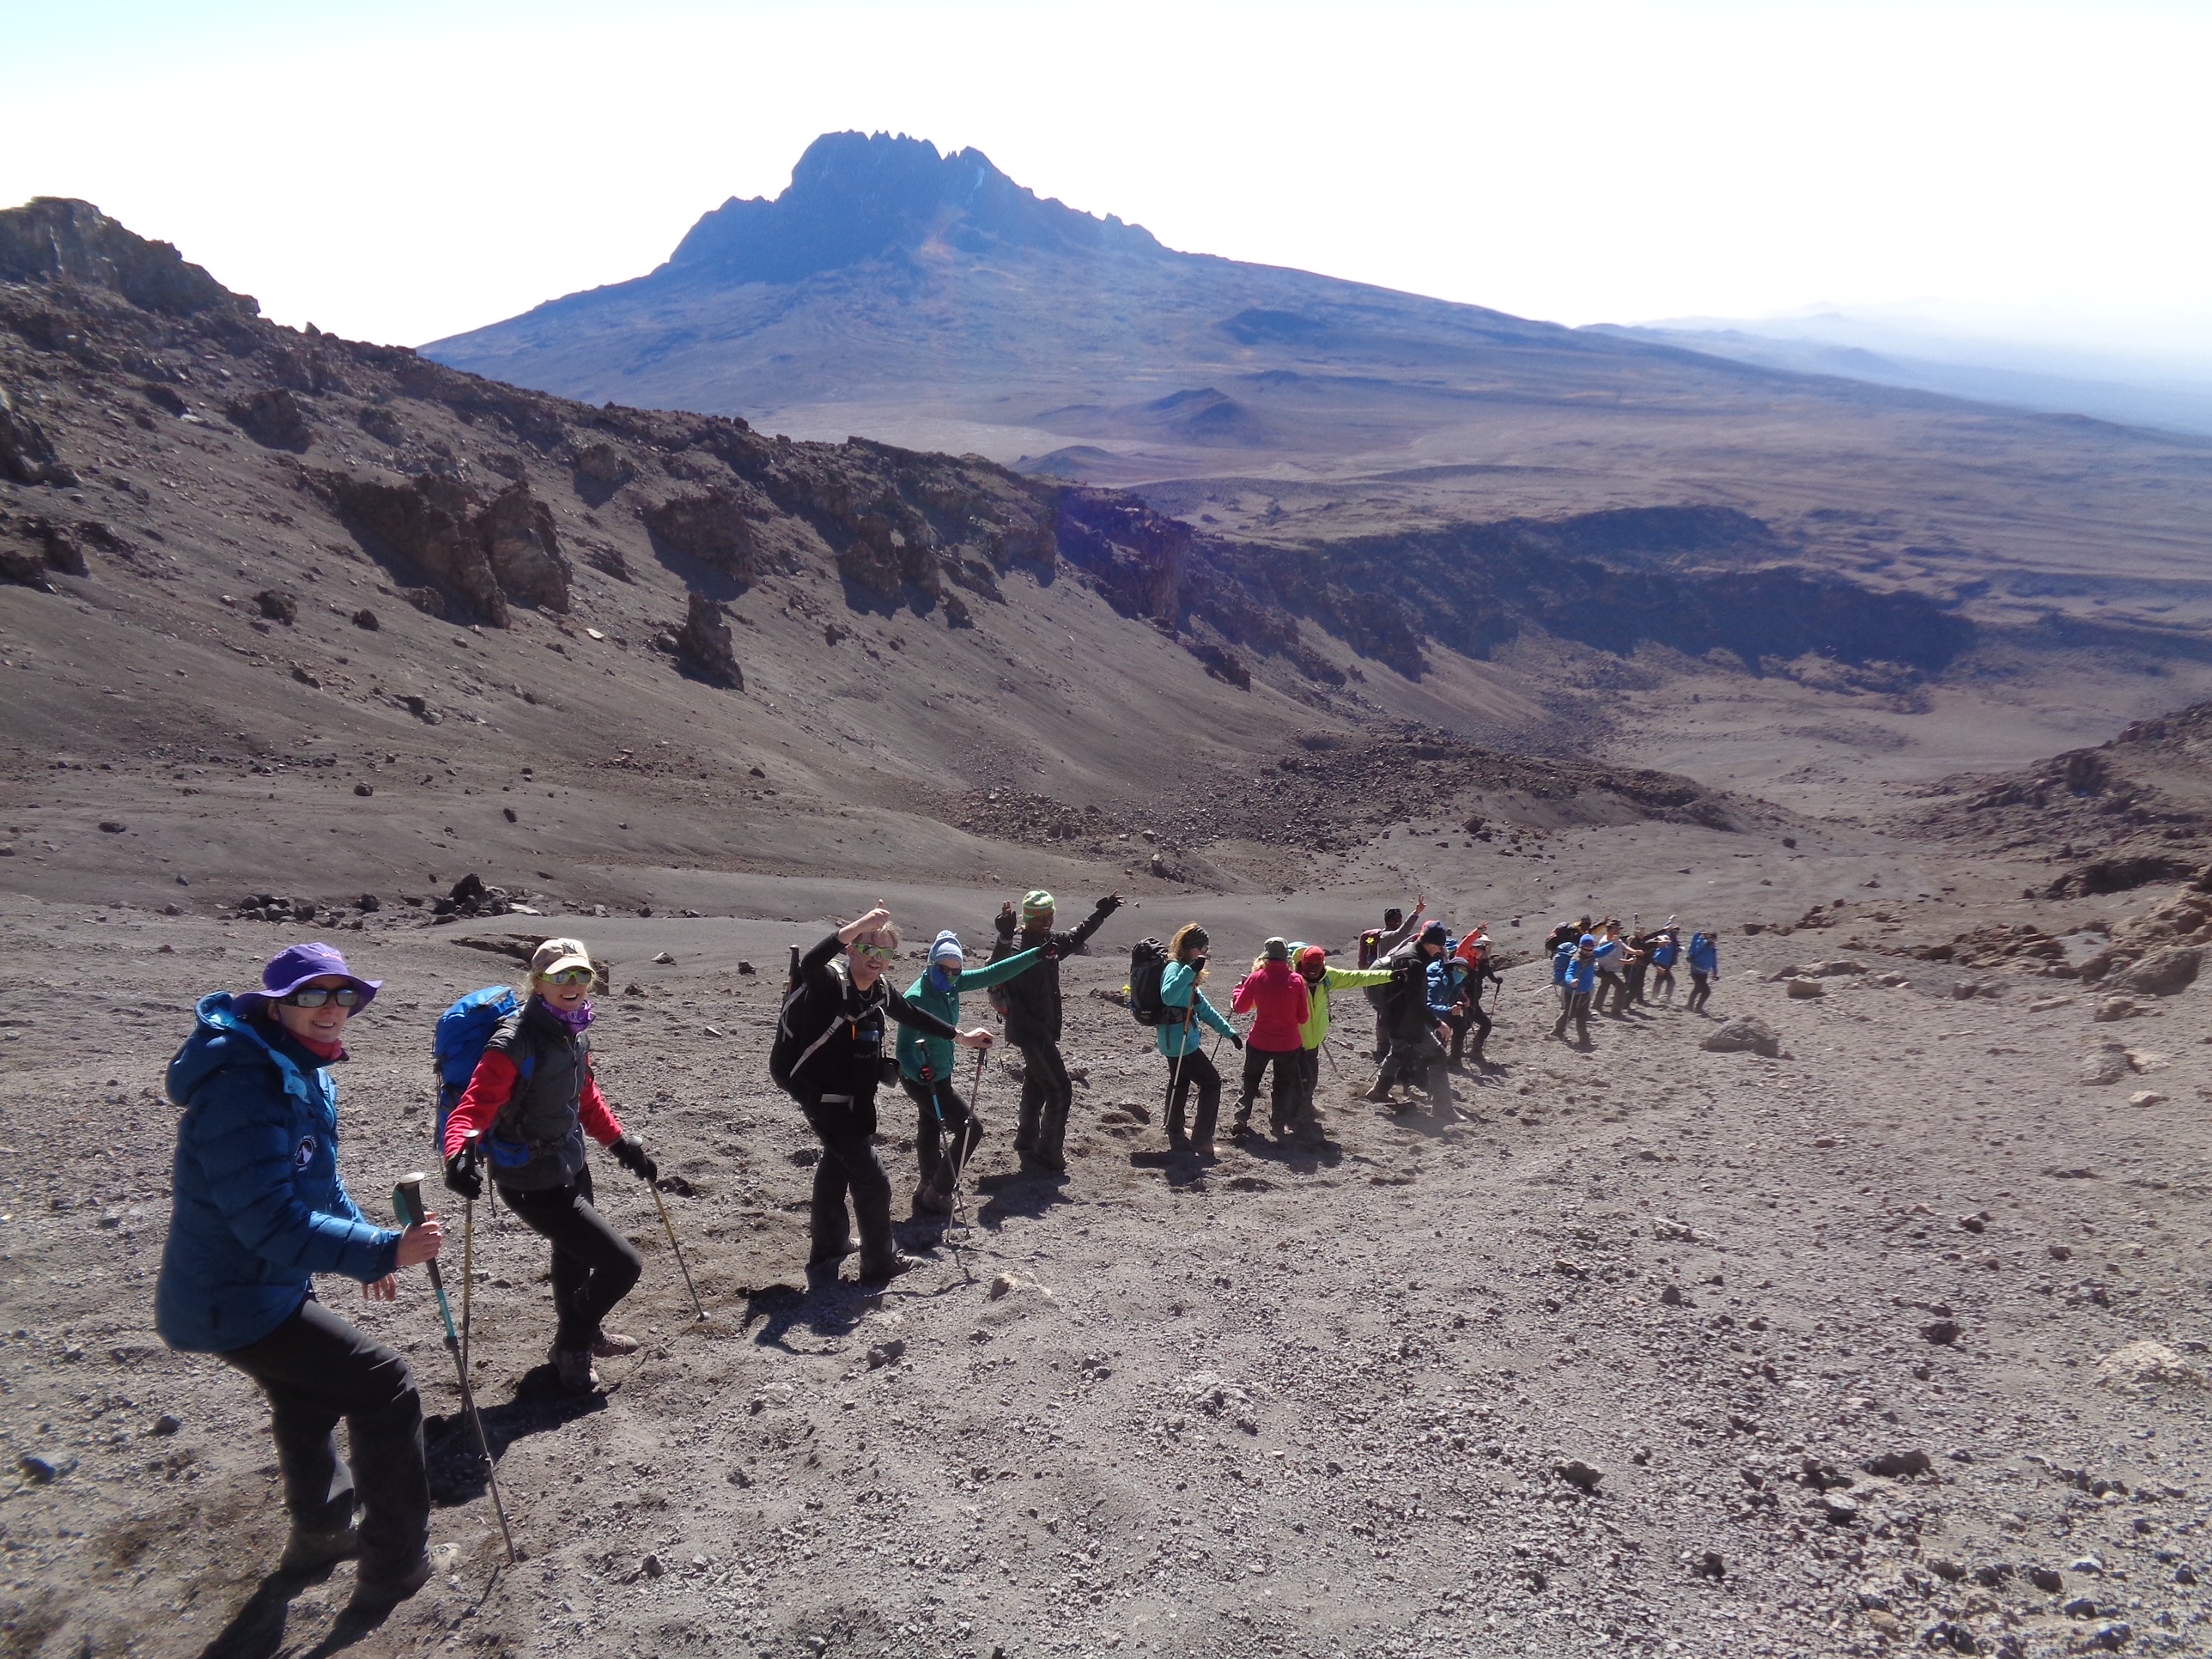
Not everyone will have access to hills, but this is the best way to train your body and legs for down hill hiking. For example, on our Inca trail treks you will be drop 700m/ 2,296 feet to 1,000m/ 3,280 feet on different days all on steep rocky stairs. On Kilimanjaro you will drop 2,800m/ 9,186 feet in one day on scree and rock and this is very challenging on your legs and joints.
You have just walked for days on end you have reached your goal but not you have to retrace your steps, often in a quicker time frame. Hiking downhill will take its toll on your joints. Fore sure, the downhill hike will take more wear and tear on your joints and muscles than the uphill.
You do need to use effective training techniques to minimize the impact on your body. Descending using good technique means that you move faster and feel lighter. Remember, 80% of accidents happen on the way down.
Walk Down Stairs in a Building
If you are based in a city, find a tall building. Walking down stairs is a great way to prepare for your trek. A lot of people carry weight up and down buildings as part of there training plan.
The key is to make sure you build up the weight you carry gradually over time. You can also walk stairs anywhere, in your home or office building. Look for local bleachers at your local high school or locate stairs in a local park. A lot of our Denver clients go up and down the stairs in Red Rocks. Follow us on Instagram.
Take a Trip to Colorado
We live in Eagle-vail, Colorado with amazing access to altitude and a wide range of mountain terrain to train on. In Colorado we can train all year round on hilly terrain preparing for Kilimanjaro, Himalayan trekking and mountaineering trips.
I know most of you are joining our trips from sea level and with minimal access to hill training. I encourage you to get out to Colorado doing some multi-day hiking in preparation for your chosen adventure. Maybe even join one of our mountaineering courses. We can help you assess what you should be doing.
Hiking Uphill and Downhill
Hiking uphill is much easier to prepare for, but what goes up must come down. You must prepare our body and specifically your knees to handle downhill hiking. Depending on the trip and your current training, it can take 3 to 9 months of some sport specific training into your training plan.
Training for downhill hiking is an important strategy not to be ignored. Try and Implement the exercises below year round to keep your knees and muscles strong year round. You can gradually increase the reps as you get closer to your departing for your trekking trip.
Strength is gain by time under tension or the slow movement. When thinking of building strength you need to factor in a range of exercises to improve your overall leg strength form your hips down to your ankles.
Exercises for Downhill Hiking
1). Step Downs
One of the best exercises for hikers and mountaineers alike. This involves you doing a normal step down (i.e. standing on a plate, step or box and slowly dropping your heel to the floor), but in this instance, you have a slight raise under your heel. This replicates very closely the angles associated with downhill hiking.
2). Squats With Elevated Heels
Squats are quadriceps-dominant, and great multi-joint exercises. They also target the glutes and hamstrings. This exercise improves range of motion at the knee, helping to recruit more quadriceps muscle fibers.
3). Calf Raises
The calf’s usually take a beating on a long ascent. On the descent your legs compensate and stress your calf’s. Doing a wide range of calf exercises will help develop the strength and endurance for hiking down hill.
4). Lunges with Weight
Walking lunges, reverse lunges, kettlebell deadlifts, and single leg ¼ squats are excellent exercises if you have difficulty walking downhill. Training for downhill hiking requires that you perform some lower body exercises with a slow descent. For example, while performing a walking lunge, you should lower your knee of the back leg toward the floor with a minimum 2-4 second count.
5). Core
Core strength is crucial for a hikers performance and comfort on the trail. You need to be working on this today. Having a strong core is essential to help stabilize the spine, allow efficient movement and help protect the lower back from pain and discomfort. For hiking, it is so important to develop exercises that strengthen your lower back and core. You should be using the fit ball to develop this routine.
6). Stability and Balance
Balance training is key if you want to minimize your chances of stumbling when hiking downhill. With every step taken you shift 100% of your body weight to a single leg, though only for a split second. This requires strength to tolerate downhill forces as well as balance. The muscles around the ankle, hip, and knee joints need to work together in different positions as protection against slips and falls.
7). Squats or Single Leg Squats
If you are taking on a serious Mountaineering Expedition you need to develop a training program that makes you leaner, lighter and stronger. A great exercise to practice is the elevated single leg squat. This should only be added after months of prior training.
Safety First
It is important that you reach your goal. What is more important that you return backdown safely. On a lot of the worlds mountains, people are highly under estimating the challenge of low oxygen, multi-day trekking, training in the right heart rate zones and preparing for the down hill. If you not an avid hiker and need assistance developing a training plan contact us today and we can help.
Carrying Weight
One of the best ways of mitigating the risk of musculoskeletal issues is by carrying a light pack. Then build up the weight you carry over time. An overly heavy backpack is not recommended in the early stages of your training.
Extract its biggest toll on your body during steep and/or long downhill sections, so a hiker should always aim to travel as lightly as the dictates of their skillset and the environment into which they are venturing allow.
If you are carrying weight on longer hike you should slowly build up the weight you carry. You should also consider carry water uphill and dump as much water/ weight as possible for your downhill. Always assess the weight you are carrying for each hike and always build up slowly over time. You do not want to get injured.
Tips for Hiking Downhill
1). Do not have your trekking boots too tight on the way uphill. Most certainly keep your boots tight for the downhill portions of your hike/ trek. Not so tight that they restrict blood flow.
2). Tighten your hip belt and shoulder straps – on steep and uneven descents this will assist in minimizing pack movement, which can impede your balance if left unchecked.
3). If you’re carrying trekking poles, lengthen them accordingly. Poles that are too low will have you reaching unnecessarily forward, thereby disrupting your center of gravity.
4). On big downhill’s like Kilimanjaro, Don’t forget to trim those toenails.
5). While descending a mountain your center of gravity should be low and over your legs.
Learning from High Altitude Guides
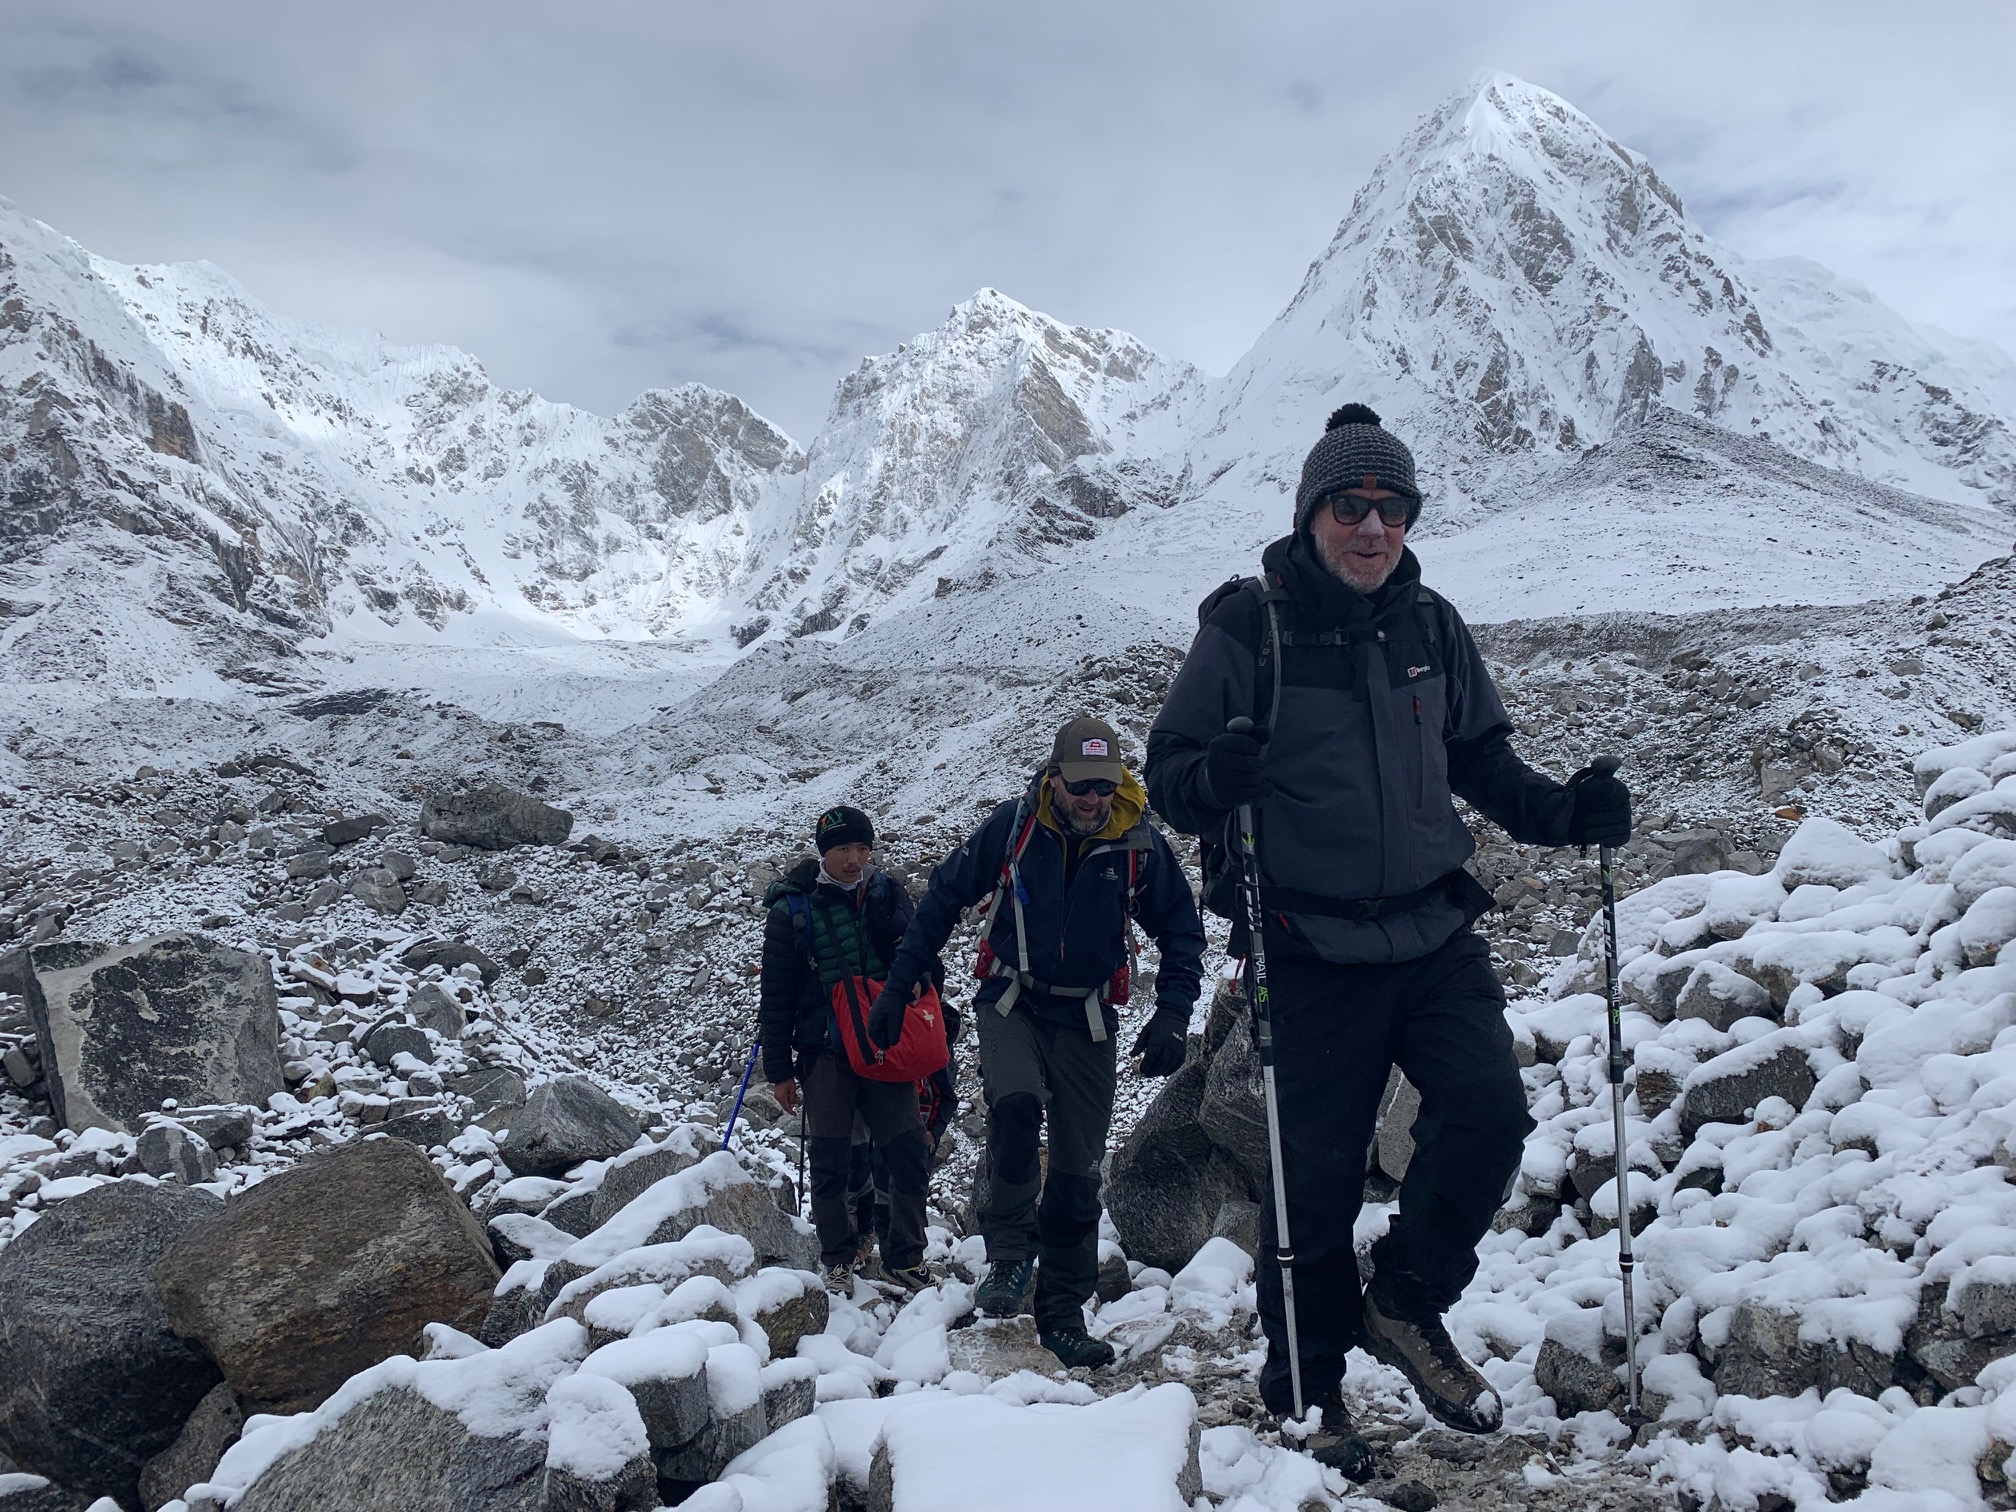
I have trekked to Everest Base Camp over 40 times, Kilimanjaro 37 times and have watched some local guides move very efficiently downhill. They effortlessly make their way along rugged, steep and rocky trails. They keep a low center of gravity, the way they bend their knees, they shortened their stride.
Minimize Weight Bearing Impact While Descending
Gravity is not your friend when it comes to downhill hiking. Hiking downhill takes significantly more toll on our bodies than other types of walking.
You can start by always keeping your downhill leg slightly bent on impact. This will help minimize stress on the knees, as the muscles rather than the joints take the brunt of the strain. Slowing down for steep steps, turn your body sideways and lower your weight down steep terrain is also using on steep steps and steep terrain.
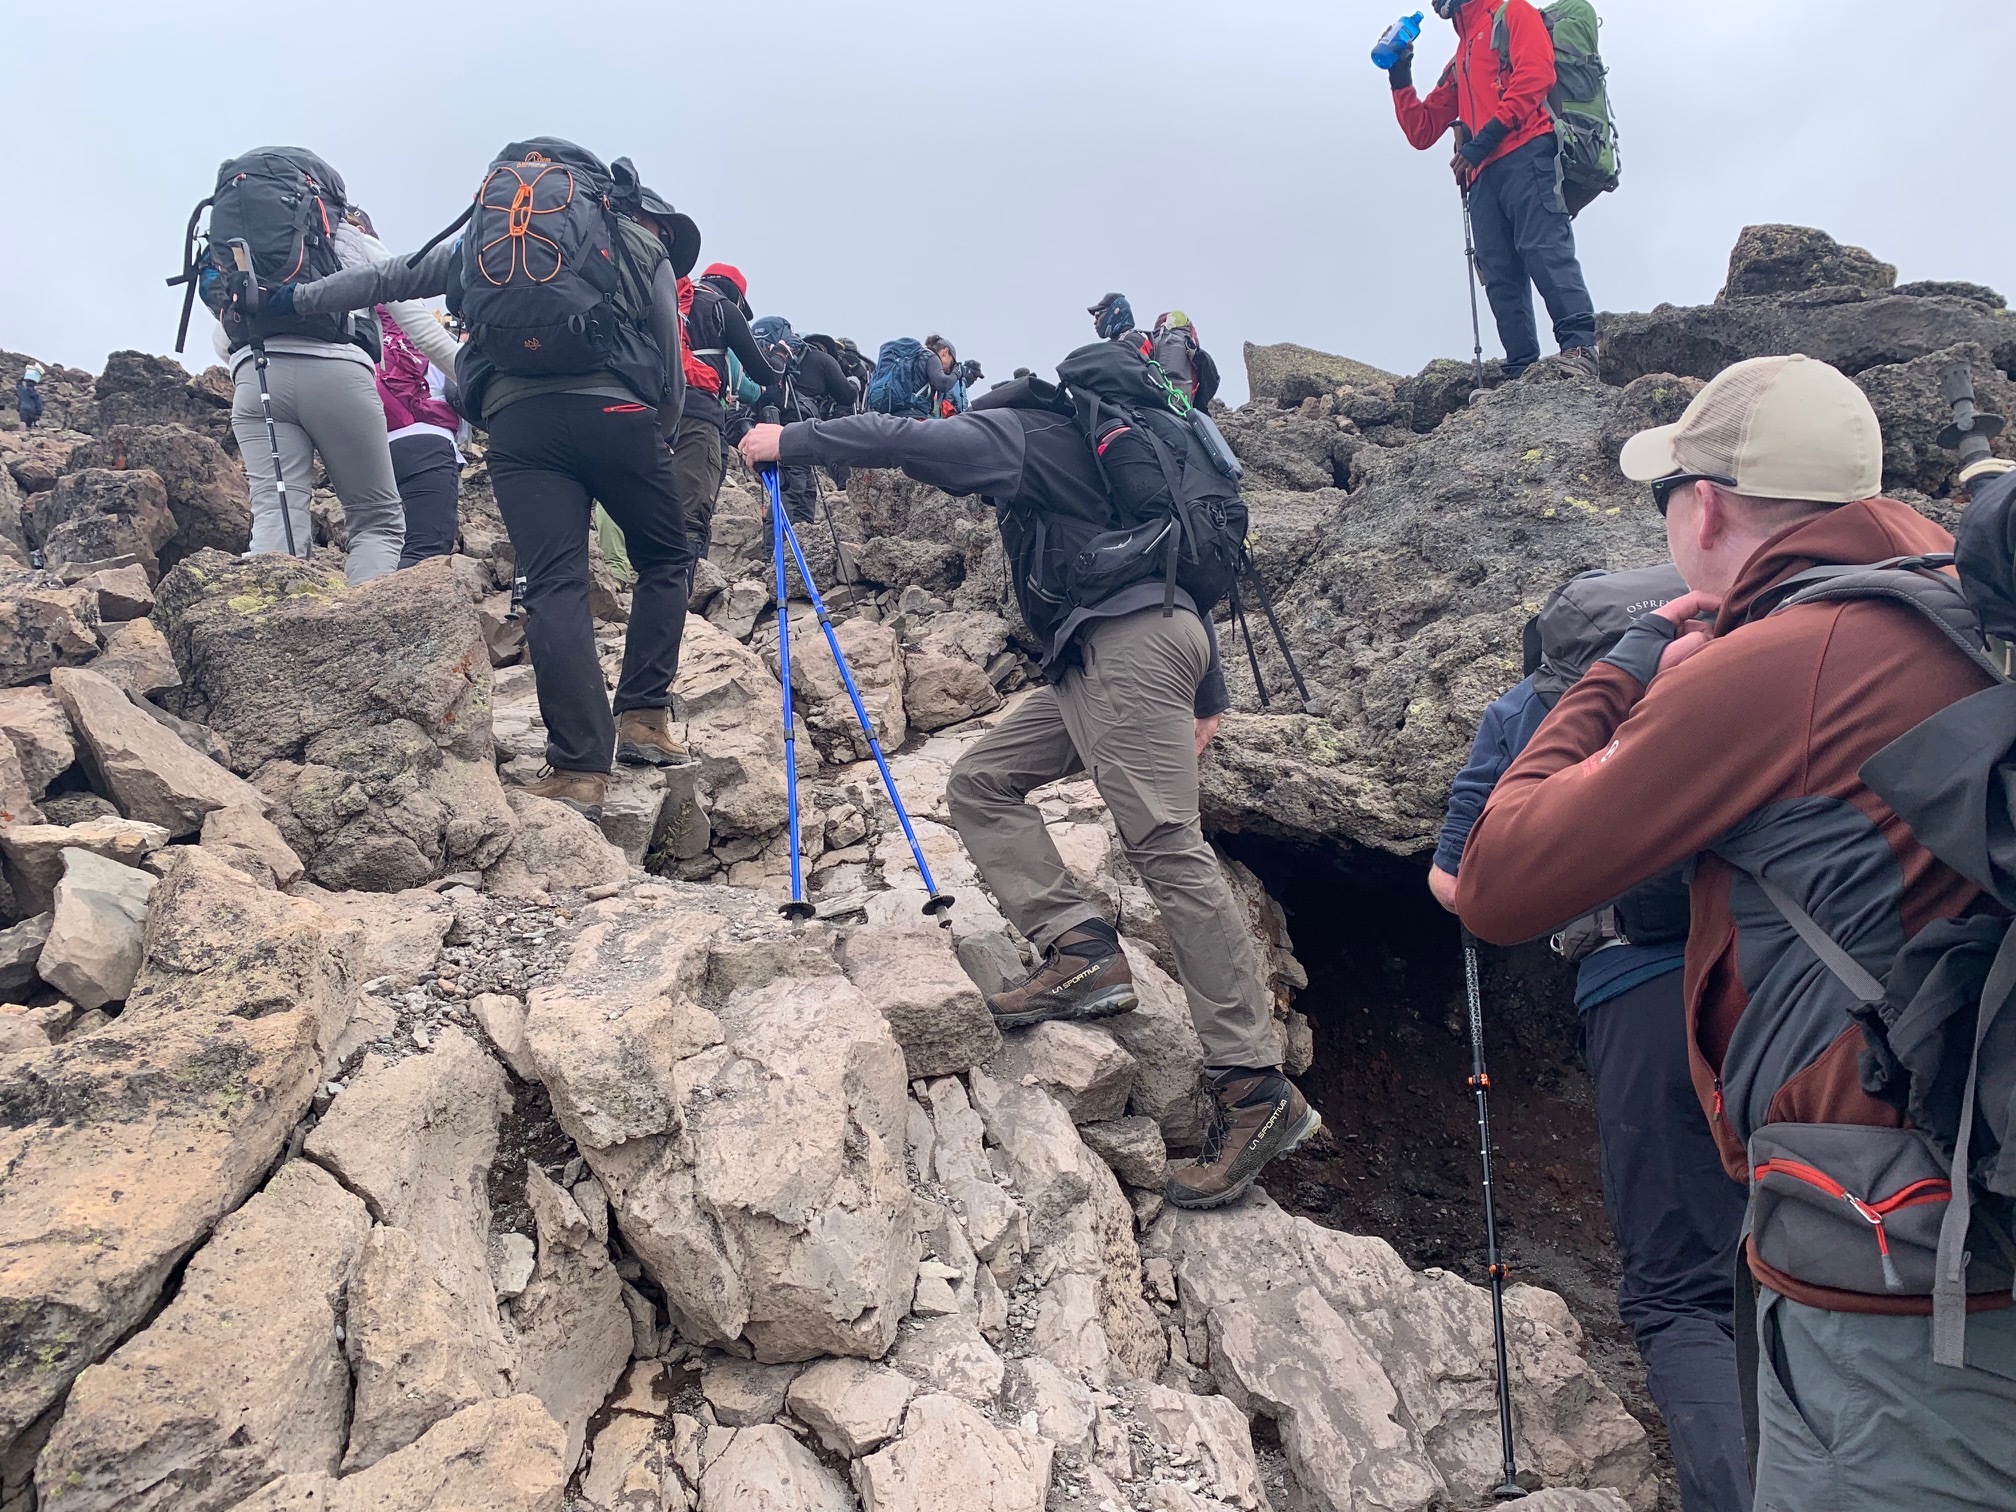
Use Trekking Poles
Poles can help by redistributing some of the load to your arms and shoulders, thereby reducing strain on the lower body. Trekking poles can also assist with balance and stability by providing two extra points of contact with the trail; particularly helpful for folks that aren’t especially surefooted. Trekking poles are great on the Inca trail stairs, Everest trail, Aconcagua and pretty much every steep downhill.
When the gradient is steep like on Kilimanjaro, taking smaller steps will help to keep your center of gravity over your legs, thereby promoting greater balance and control.
Pay extra attention to where you are placing your feet. Most accidents, slips and falls occur on downhill stretches that immediately follow long ascents. After the exertion of the climb, it is extremely important to remain focused on the descent.
Build up to Longer Hikes Carrying More Weight
The reason to carry weight in your backpack is to stress test your overall strength and conditioning for multi-day trekking. Building strength in the appropriate muscles for hiking up and down hill.
By diligently practicing good technique, over time the speed and confidence with which you descend will increase and allow you to physically be able to carry more weight which will build your overall strength for trekking.
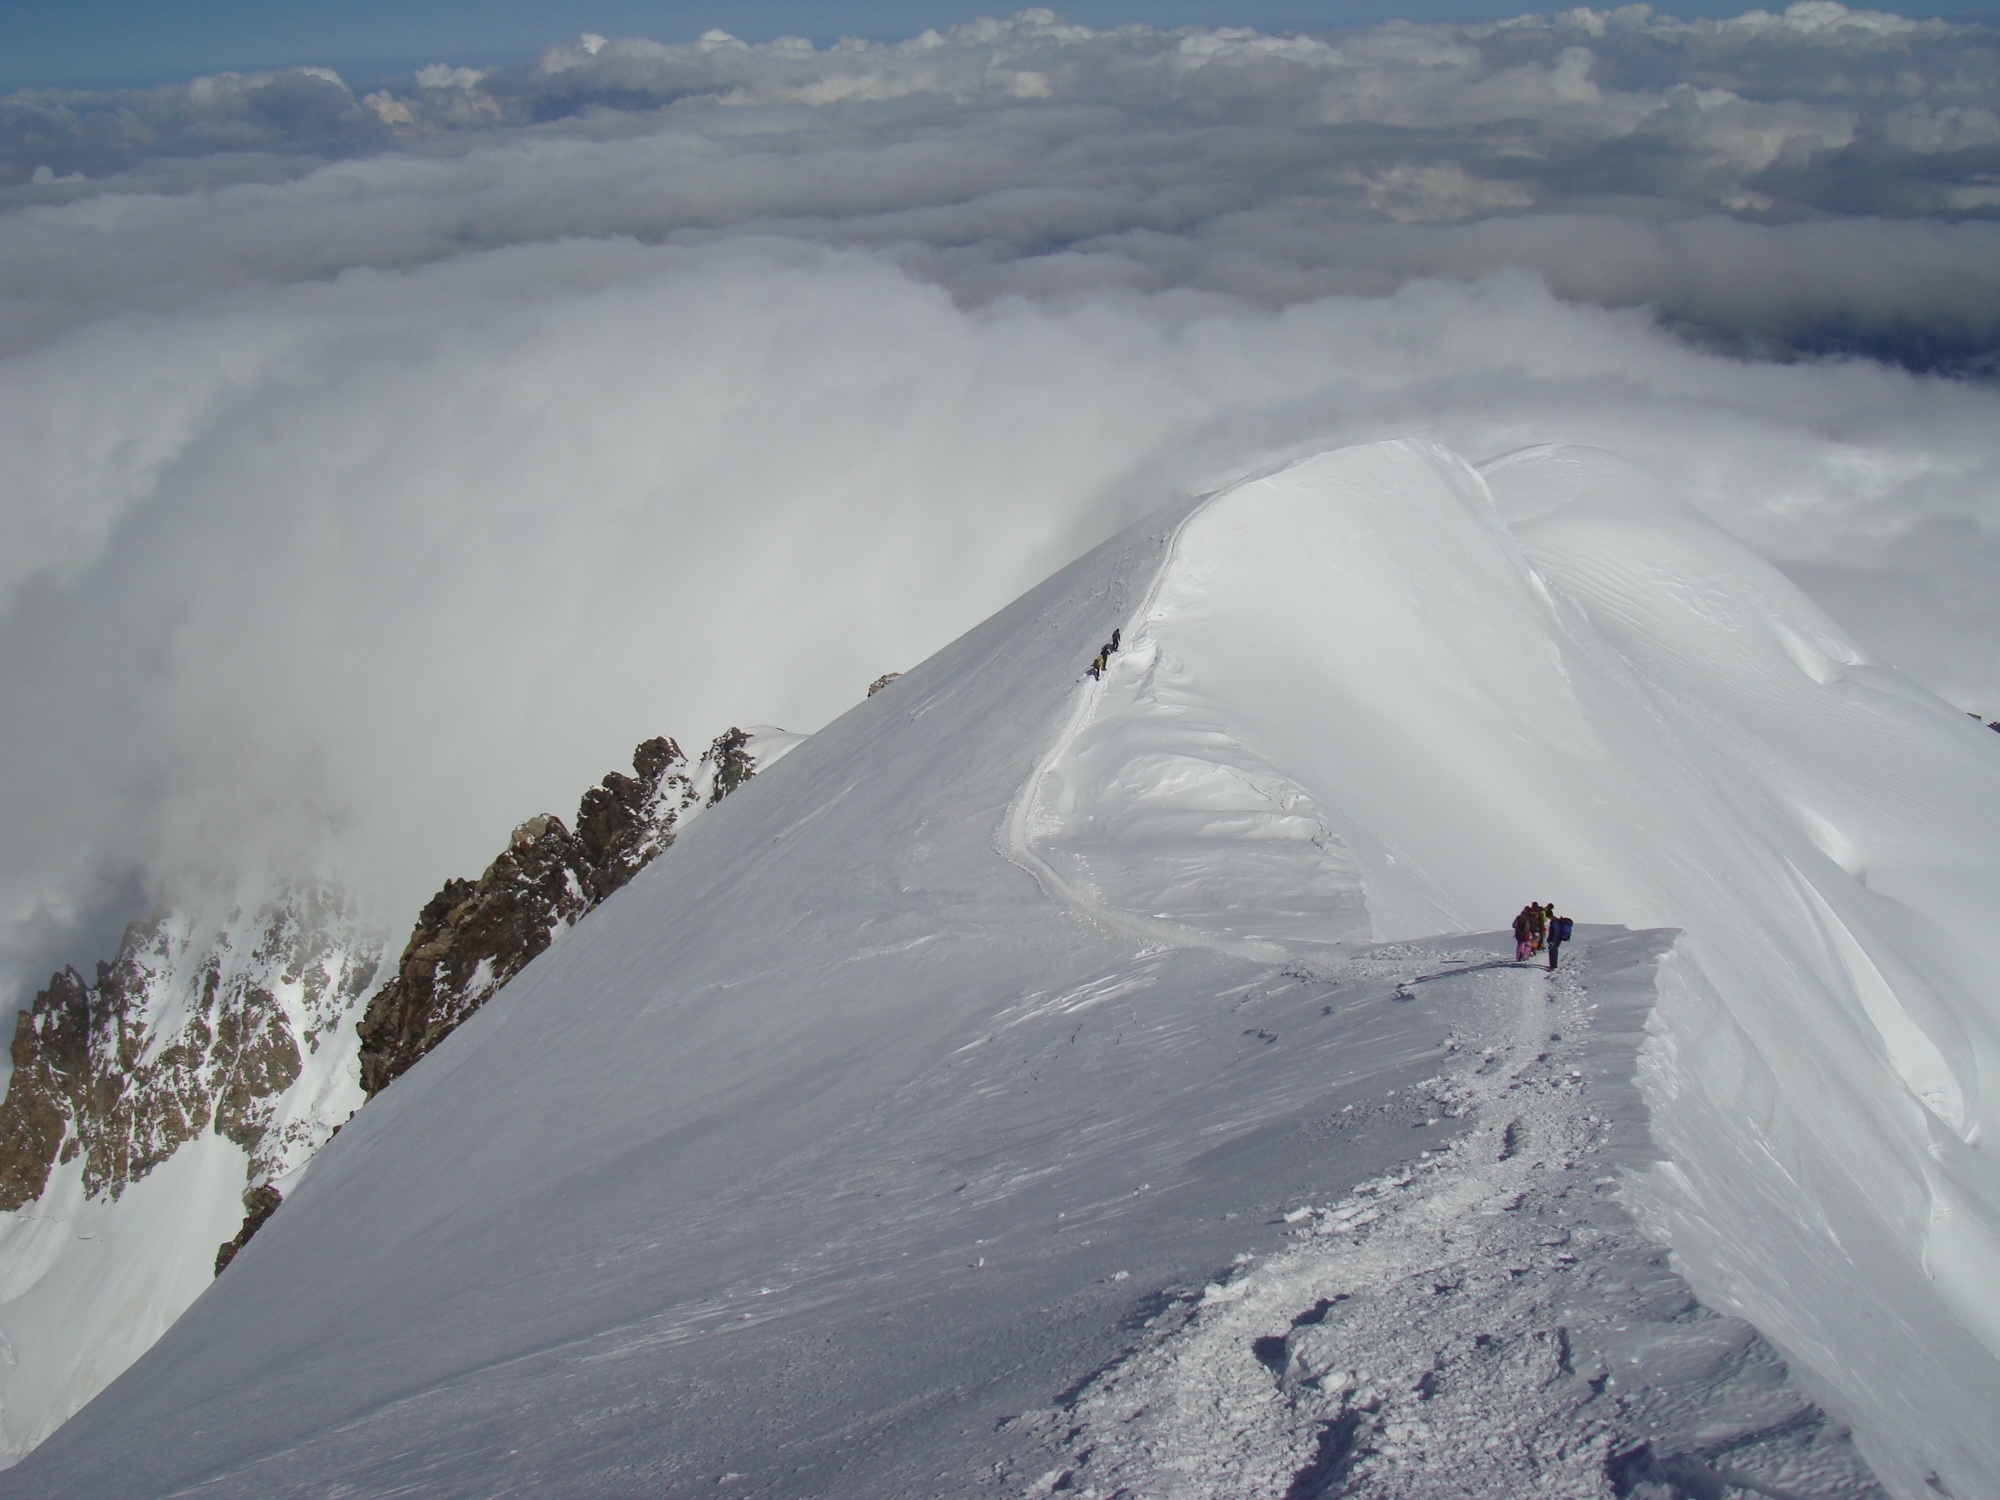
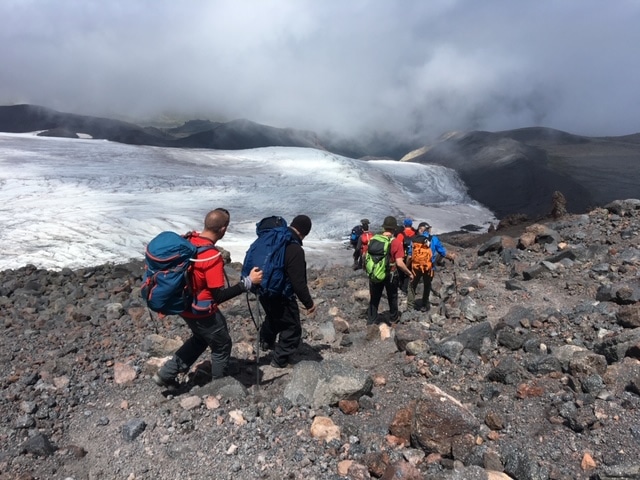
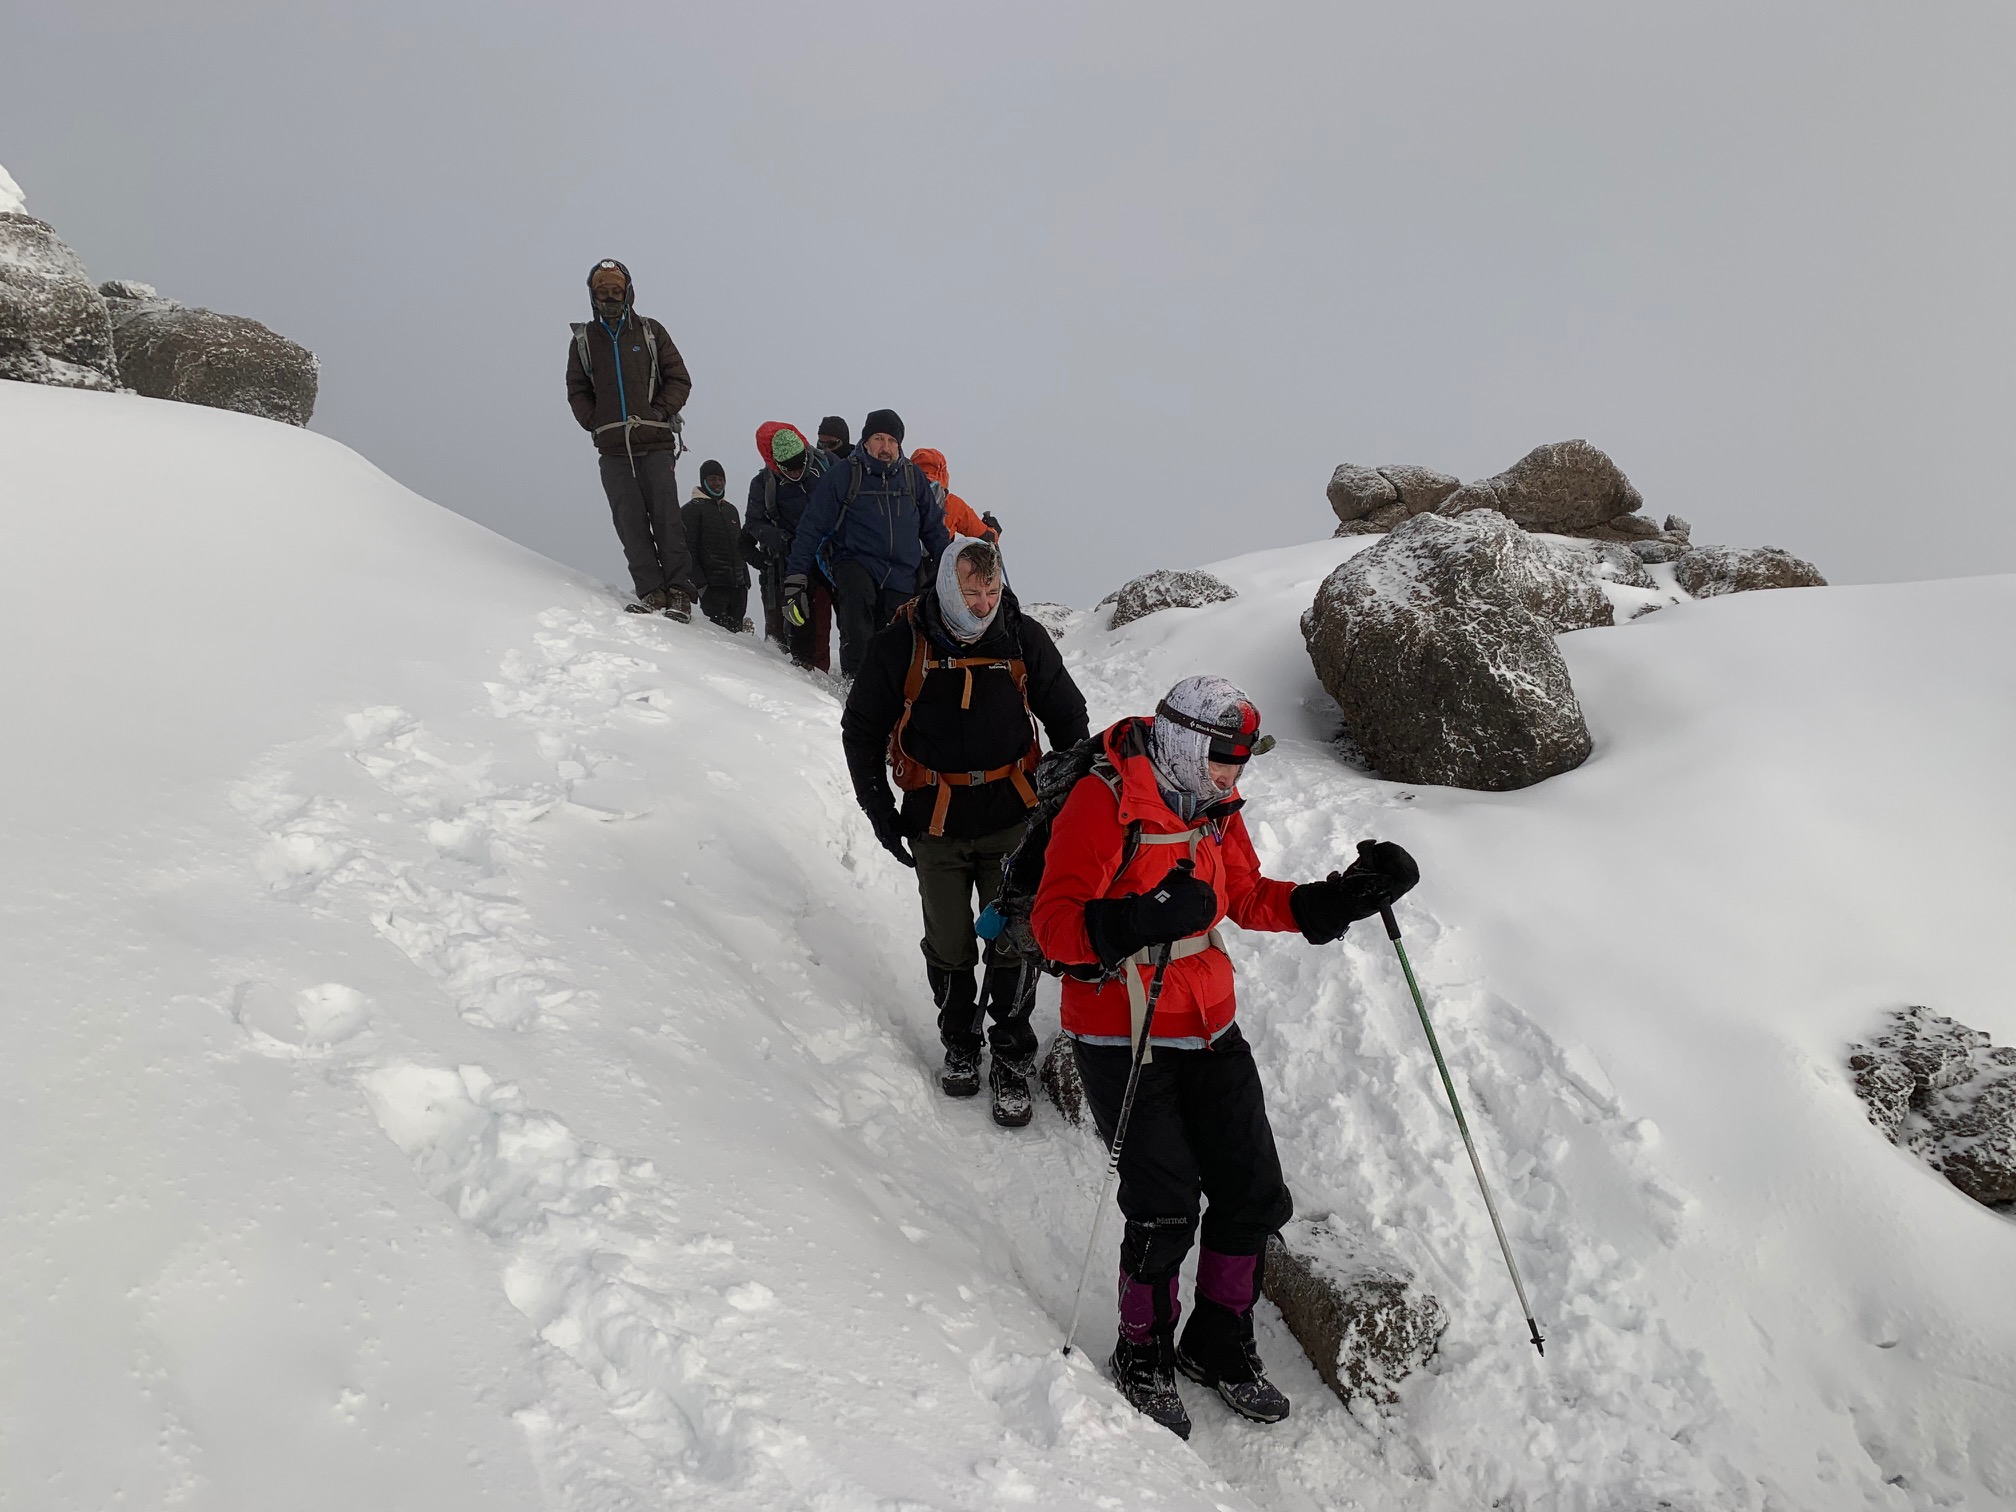
Be Careful Descending Snow Slopes
How you descend on a glacier or snowy terrain is dependent upon the condition of the snow and the gradient of the slope. Most mountaineering trips require a slow ascent followed by a quicker descent.
There are a number of reasons for this. Weather is one, conditions of the snow and glacier are another.
You make an ascent quicker we have to be able to get back down before the snow smells and you are trudging through through deep snow and injury yourself and waste time. Getting down quickly requires excellent leg strength, mobility and efficiency.

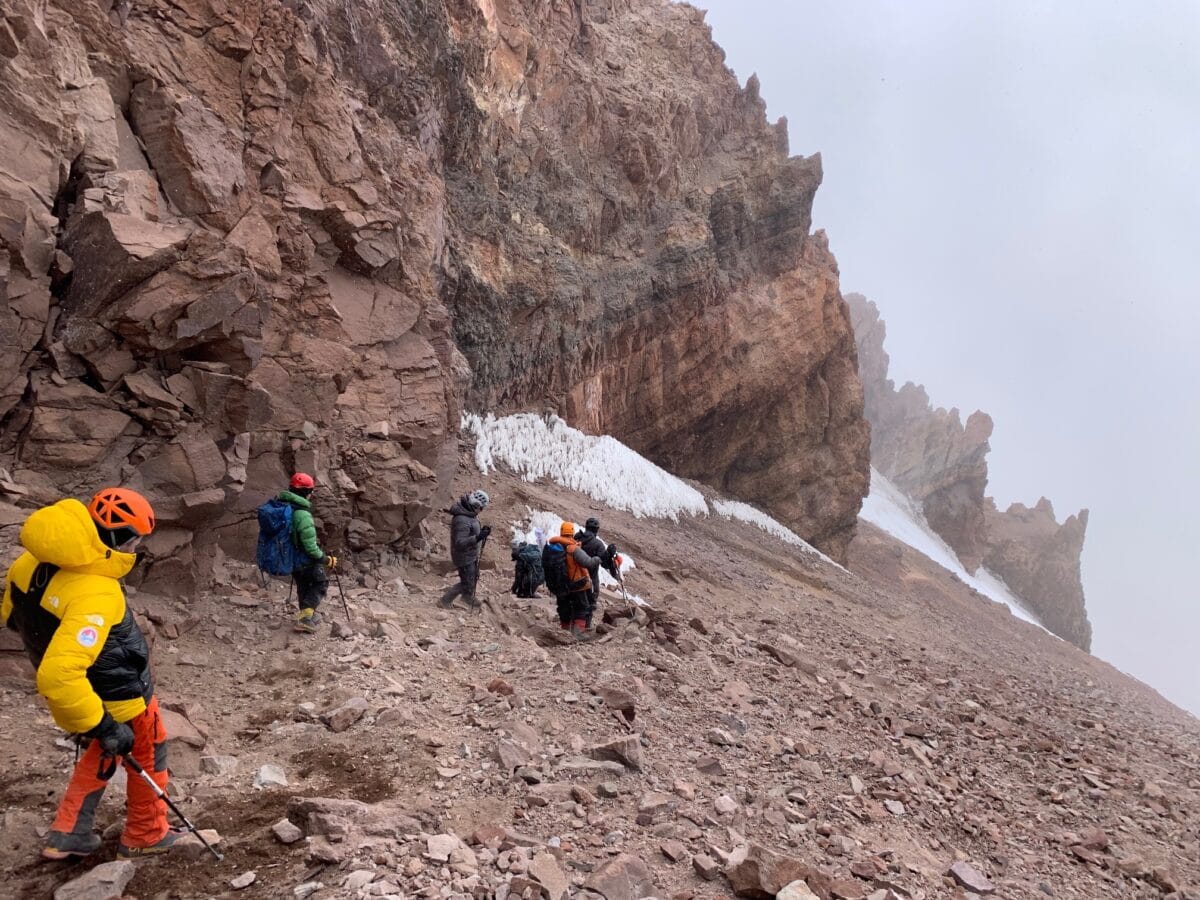
Descending Rocky and Scree Slopes
Take your time, Monitor your momentum and be careful of big rocks underneath the surface. This is a big deal descending Kilimanjaro, care is needed when descending on scree and loose rock. Take short, controlled steps, baby steps.
If there is someone below you, be sure to give them plenty of space, in case you accidentally trip, large rock or can not control your balance. Move with the terrain, rather than against it.

Contact the Experts
I hope this post about how do you train for hiking downhill was useful. We have led thousands of people on Hiking, trekking and mountaineering expeditions around the world. Our team have very important insights in how to best prepare for your chosen adventure. Contact us today. There is never a one size fits all when it comes to training but we can help you build the correct training plan for your chosen adventure.